
Steps To Swimming Pool Waterproofing - Quick Guide [2025]

Imagine you’ve invested in an elegant backyard pool, complete with a stunning underwater viewing window. Nothing looks better. But a leaking pool? That can turn your dream into a nightmare.
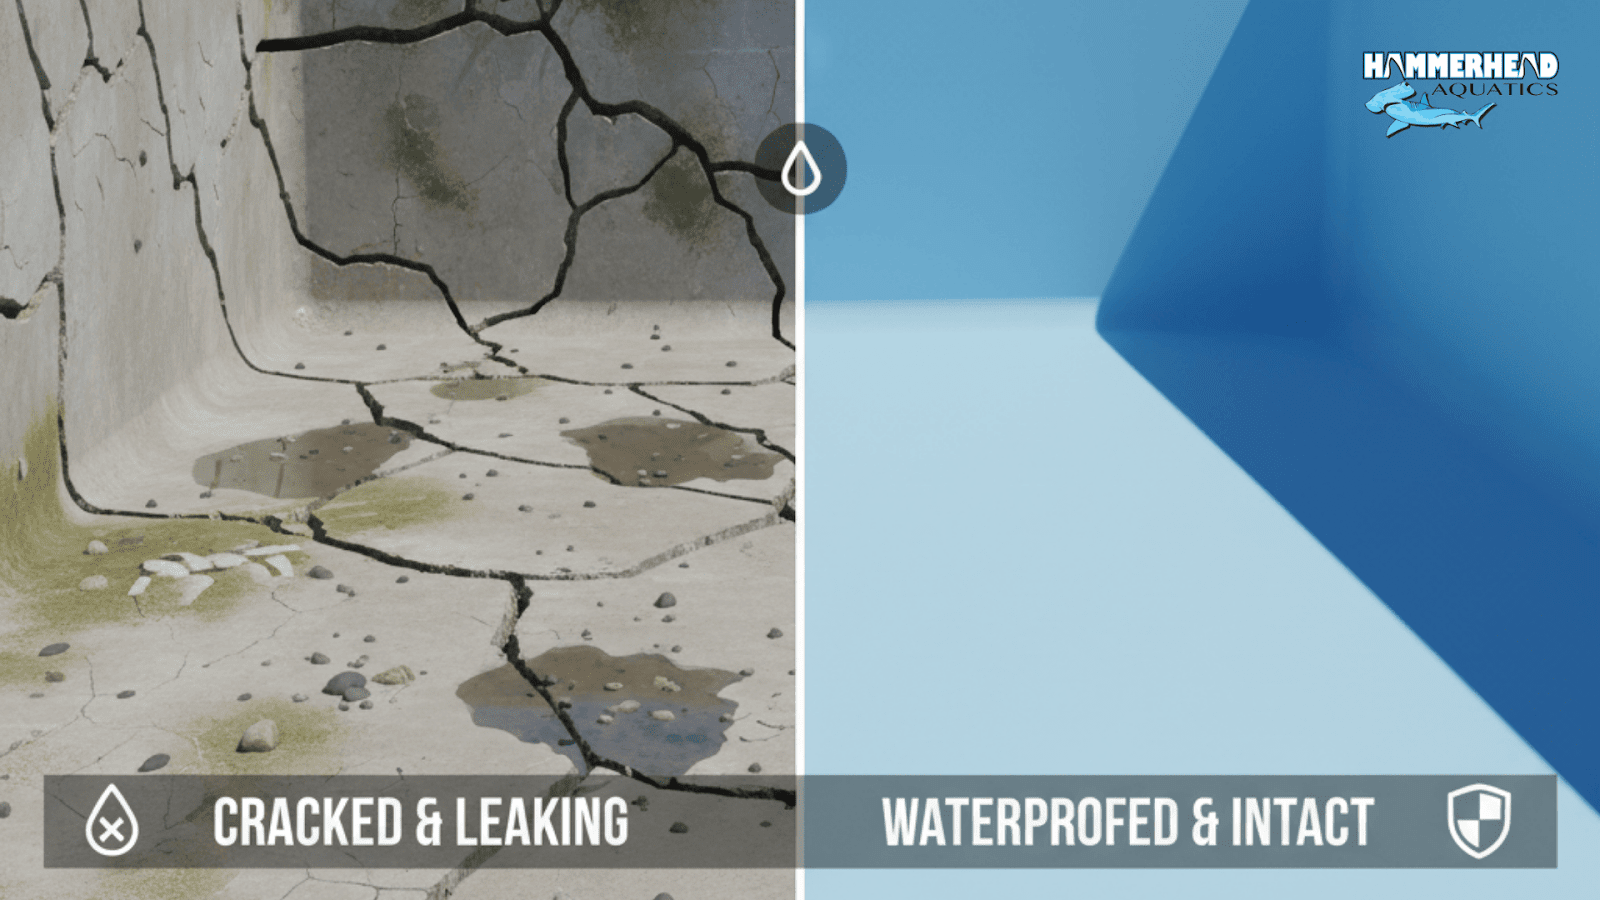
Over my two decades of building pools around the world, I’ve seen how even small missteps in waterproofing can lead to cracks, leaks, structural damage, and compromised pool windows. Good swimming pool waterproofing isn’t just about slapping on a membrane. You need the right method, materials, attention to detail, and precision.
Well, in 2025, with newer products, higher customer expectations, more demanding building codes, and more sophisticated design features (like acrylic or glass pool windows), getting proper waterproofing right from the start matters more than ever.
Today, I decided to create a quick guide so that you know what pool builders go through when creating a swimming pool.
In this quick guide will walk you through the exact steps, pitfalls to avoid, and how integration with features like pool windows must be handled to produce a pool that’s both beautiful and leak-proof for many years.
Let’s begin.
TL;DR – Quick Guide to Swimming Pool Waterproofing (2025)
- Waterproofing a pool is less about products and more about process.
- Start clean: Get the concrete shell cured, patched, and ready — no shortcuts here.
- Layer up: Apply a proper membrane system (not just one coat) so it holds against inside water pressure and outside groundwater.
- Mind the details: Corners, pipe entries, and especially pool windows are where leaks usually begin — seal them like your reputation depends on it.
- Test before you dress: Always water-test the shell before tiling or plaster. Fixing leaks later is a nightmare.
- Maintain for life: Even perfect waterproofing needs check-ups; inspect sealants and window joints every few seasons.
- Though it’s a guide, always consult experts (such as Hammerhead pools) if you notice pool leaks. It’s not a DIY job.
👉 Done right, your pool will look good and stay watertight.
Now, let’s get into the details.
Step-by-Step Guide to Pool Waterproofing
Okay, now, let me give you a piece of my 30 years of experience and knowledge so that you know, it’s not a simple “get set go”. Building a pool needs a lot of work.
And the materials do play a part in it, but mostly, it’s all about the process. So let’s look at it step-by-step.
Step 1 – Planning & Design Stage

It all starts even before you build a pool (but don’t worry, if you see leaks, there are ways to fix that).
Following are what you should be doing to get started.
I. Site & soil assessment
Know if groundwater is high, if soil shifts, or there are frost concerns. In some of my early job sites, we found hydrostatic pressure from groundwater cracked the pool shell because it wasn't accounted for.
II. Water load & structural design
The pool shell must be designed to withstand both the weight of the water and forces from exterior soil or water. Also design calculations around any window cutouts (glass or acrylic) must consider added load and differential expansion.
III. Window/window panel placement
If you are installing pool windows, determine their size, shape, thickness, and support early. The surround, rebate or frame for a window must be part of the structural and waterproofing planning, not an afterthought.
Step 2 – Substrate Preparation (Concrete Shell / Shell Base)
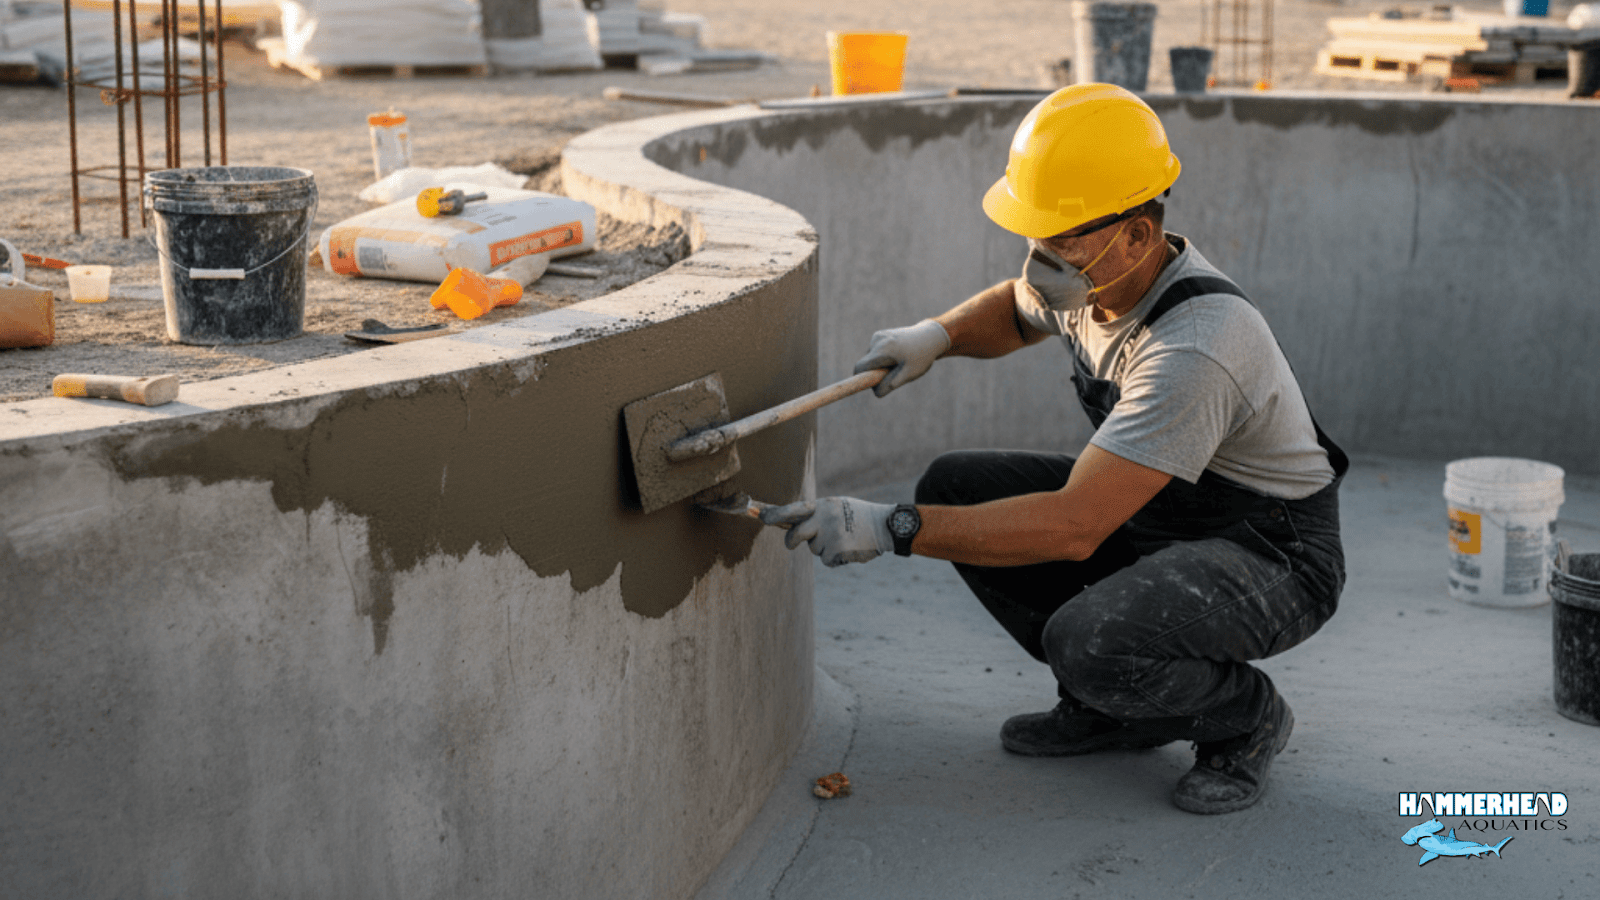
While your plan may be good, you have to be careful with the preparation of the shell base. Mistakes here could mean long-term leaks you can;t trace until your water gets cloudy.
I. Curing concrete properly
Wait until concrete reaches requisite strength. Some membranes require substrate to be a minimum age (e.g., 3 days or more).
II. Smoothness and flatness
Use patching, leveling mortars to remove honeycombs, large voids, or uneven surfaces. Surfaces must be within tolerance, so that the waterproofing membrane adheres uniformly.
III. Treat joints and penetrations
Construction joints, control joints, pipe sleeves, lighting fixtures, skimmer boxes, etc. All of these are weak points.I always “V-groove” or saw-cut and seal the joints, use flexible sealants, water‐bars or swellable tapes where required. If there’s a pool window, the rebate (the frame built into the concrete to hold the window) must be finished and sealed as part of substrate prep with no gaps, no rough finish that can tear or stress sealants later.
Step 3 – Choosing Waterproofing Materials & Membranes
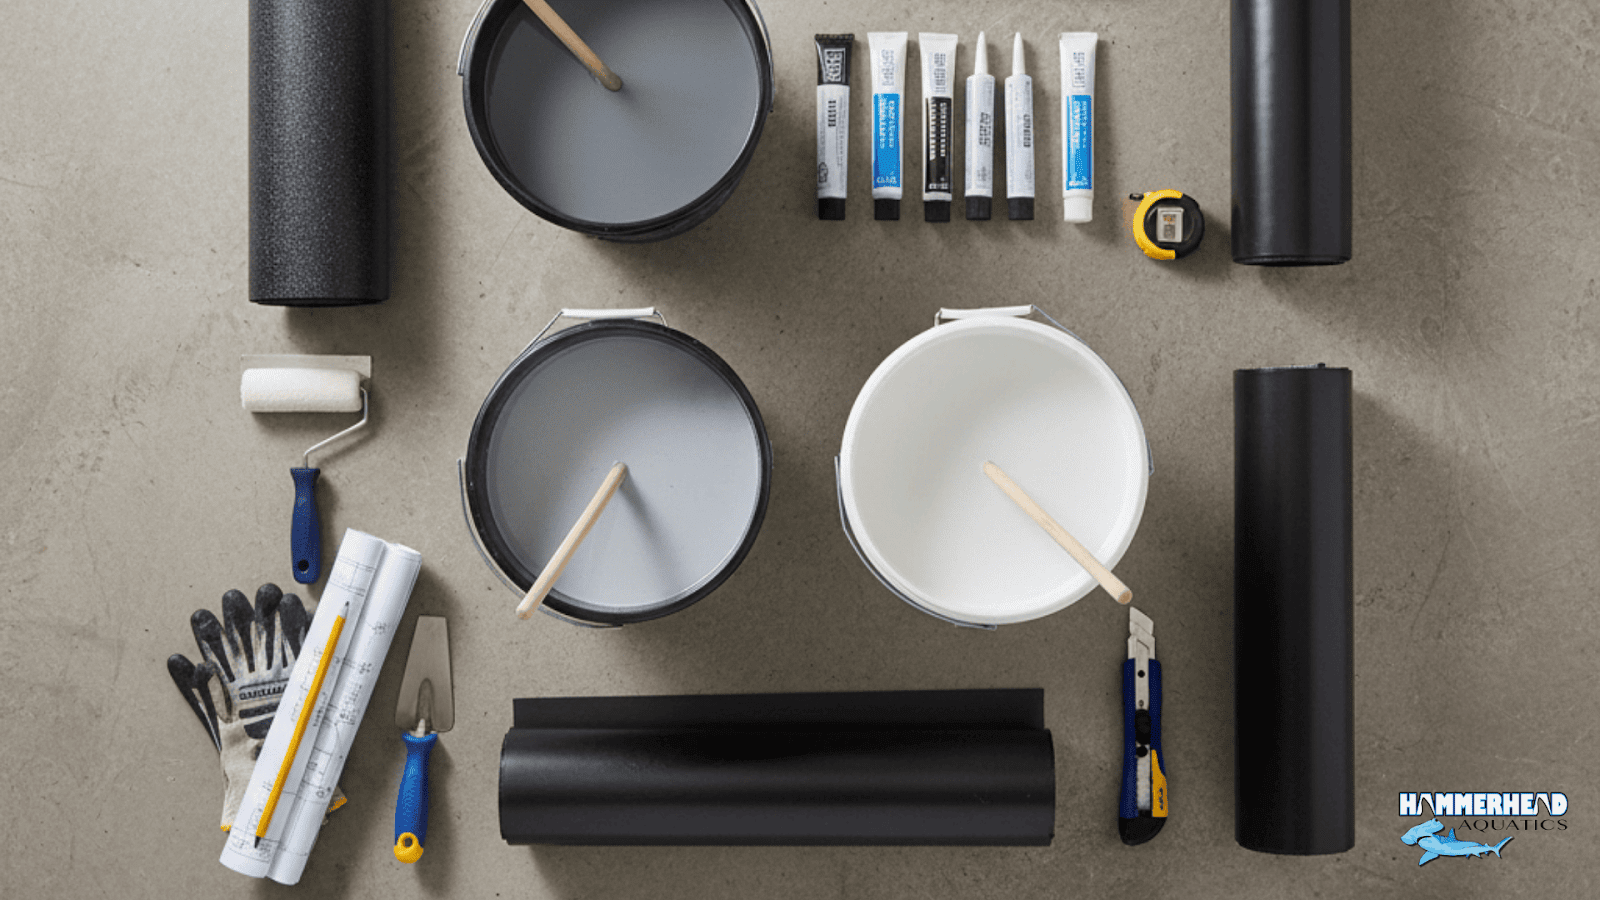
Now it’s time for a bit of shopping. Let us look at your options for swimming pool waterproofing systems.
Cementitious Coatings / Mortars
- Advantages:
- Good for submerged areas.
- Robust and adheres well to concrete.
- Good for submerged areas.
- Considerations:
- Less flexible; cracks can develop if not applied properly.
- Less flexible; cracks can develop if not applied properly.
Liquid Membranes (Polyurethane, Acrylic, Epoxy)
- Advantages:
- Flexible and accommodates slight movement.
- Good chemical resistance.
- Flexible and accommodates slight movement.
- Considerations:
- Must be applied correctly in terms of thickness.
- Compatibility with tile adhesives or window sealants is needed.
- Must be applied correctly in terms of thickness.
Sheet Membranes
- Advantages:
- Factory-made, robust, helps with negative side pressure.
- Factory-made, robust, helps with negative side pressure.
- Considerations:
- Joint sealing and correct overlapping are essential.
- Difficult to adapt around complex shapes like windows or curved panels.
- Joint sealing and correct overlapping are essential.
Combination Systems
- Advantages:
- Primer + membrane + topping + sealants offer more redundancy.
- Primer + membrane + topping + sealants offer more redundancy.
- Considerations:
- More expensive.
- Coordination is crucial for proper application.
- More expensive.
Waterproofing for windows
Compared to regular pools, waterproofing pools with viewing windows is a bit more complex.
- Ensure the sealant used for pool windows is compatible with both the window material (PMMA, acrylic, glass) and the pool water chemicals (chlorine, UV, pH fluctuations). From observing installs, improper sealants around windows are often the first fail-point.
- Use UV-stable, flexible materials; the window frame or rebate must be waterproofed in multiple layers (backer, membrane, sealant), and ensure that during shell construction the window rebate is built flush, stable, and clean.
- Windows introduce a face where water pressure interacts with structural margins; design to bear load, avoid deflection which stresses sealant lines.
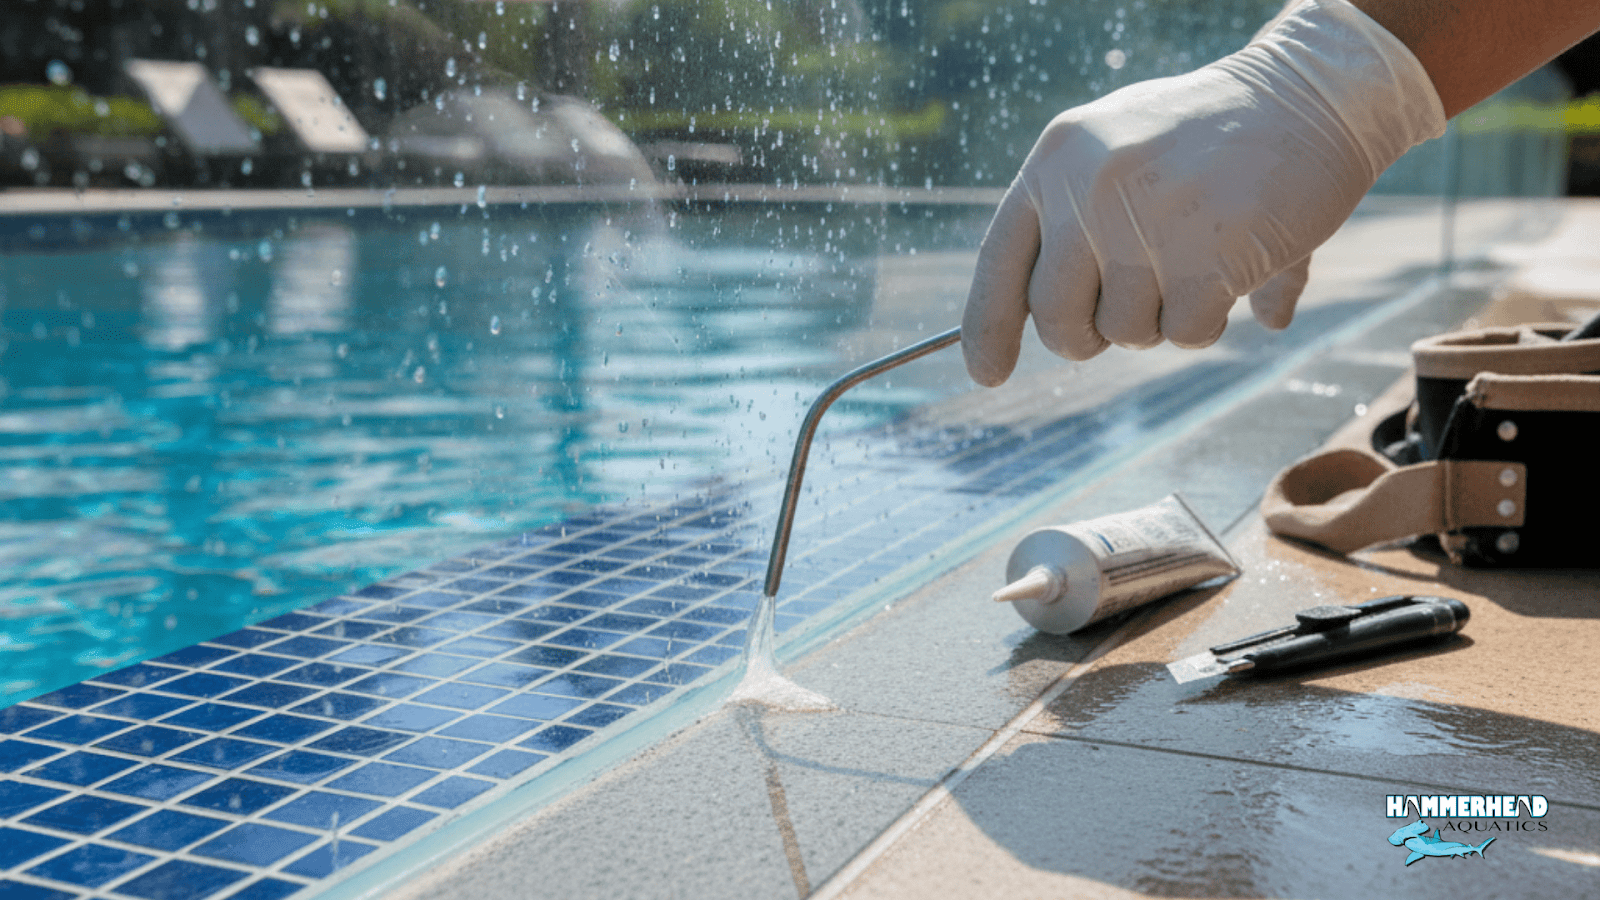
Step 4 – Application Of The Pool Waterproofing System
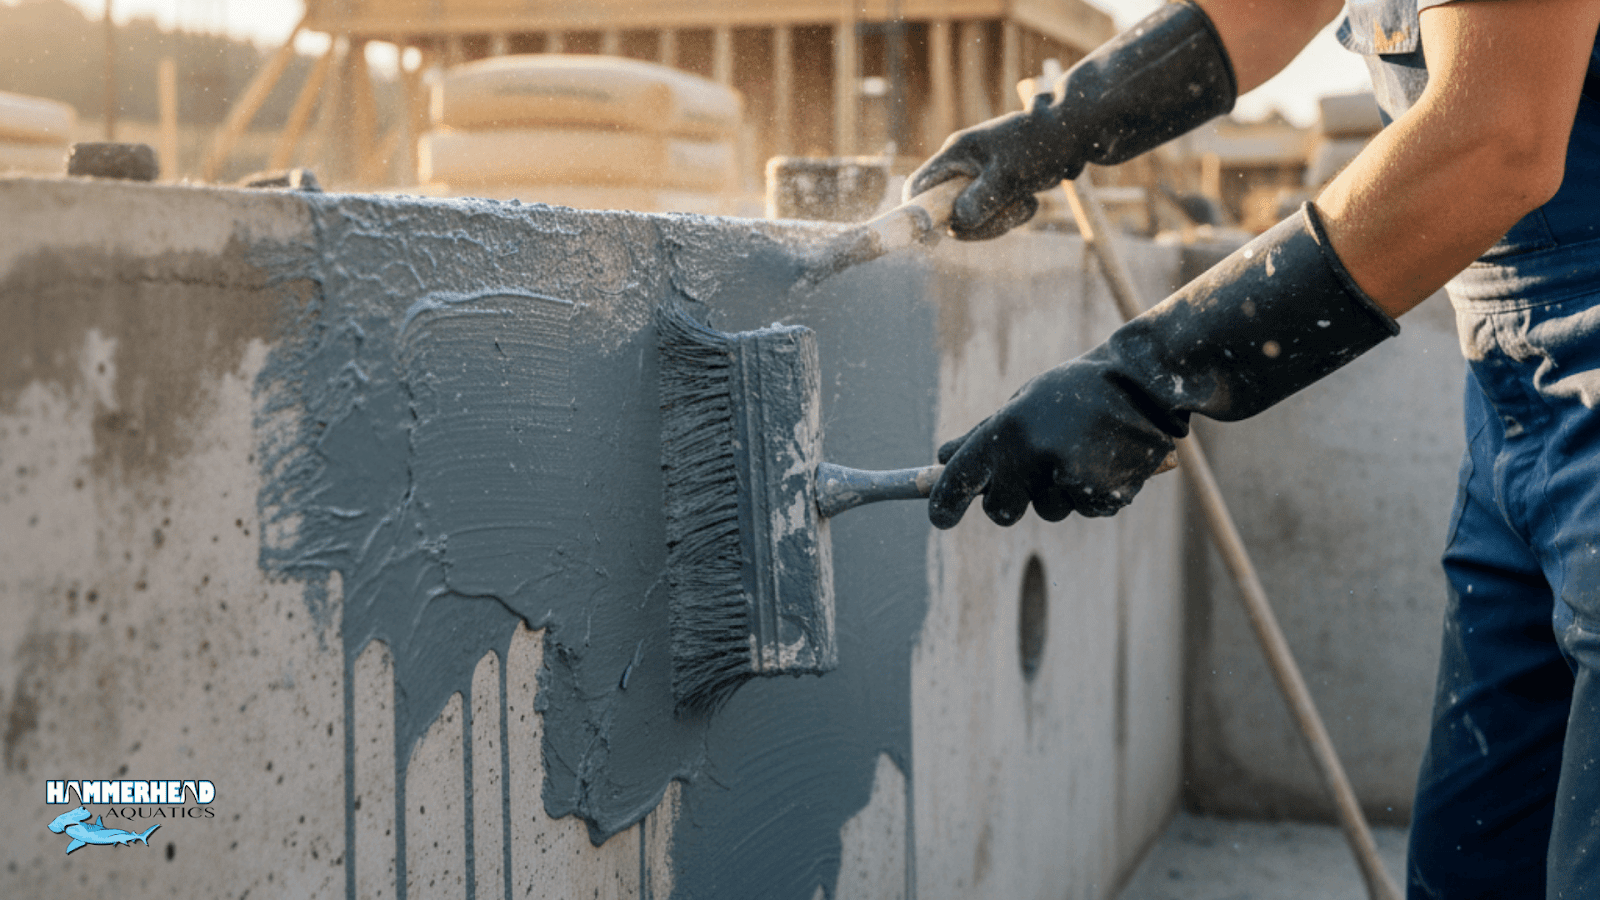
After all that, this is where discipline pays off.
I. Primer / Penetrating Sealer
Once the substrate is clean and joints prepared, apply a penetrating sealer or primer. Its role is to densify concrete, block pores, and improve adhesion of subsequent waterproofing layers.
For example, in some high humidity environments, using a silane/siloxane sealer first helps reduce water absorption.
II. First Membrane Layer & Flashings
Apply first waterproof membrane/coating. If using liquid, ensure proper wet film thickness. If sheet or fabric reinforced, ensure all joints, corners, pipe penetrations are flashed.
Use reinforcing mesh or fabric at corners and where surfaces meet (walls / floors), also around windows. The rebate around a pool window must be flashed thoroughly before installing the window—both the inner face (pool side) and back side if accessible.
III. Second / Multiple Layers (Redundancy)
Most high quality pools get at least two layers (liquid membranes or coatings) in orthogonal or offset directions to avoid joint weaknesses. Some systems demand 2 coats at right angles.
After that, any protective finish (tile, plaster, epoxy) can be installed. But only after verifying the membrane is fully cured.
IV. Waterproofing Under Tile / Finish Layer
If you will use tile, epoxy grout, or decorative finishes, ensure that the membrane permits direct bond. Use polymer-modified mortars or adhesives suited for wet submerged application. ARDEX ENDURA, for example, recommends high polymer content adhesives and proper joint widths (2-3 mm) with epoxy grout.
Any finishing around the pool windows must be smooth; grout or plaster around jambs must be sealed to avoid ingress behind the window.
Step 5 – Installation of Pool Windows in Waterproofing Workflow
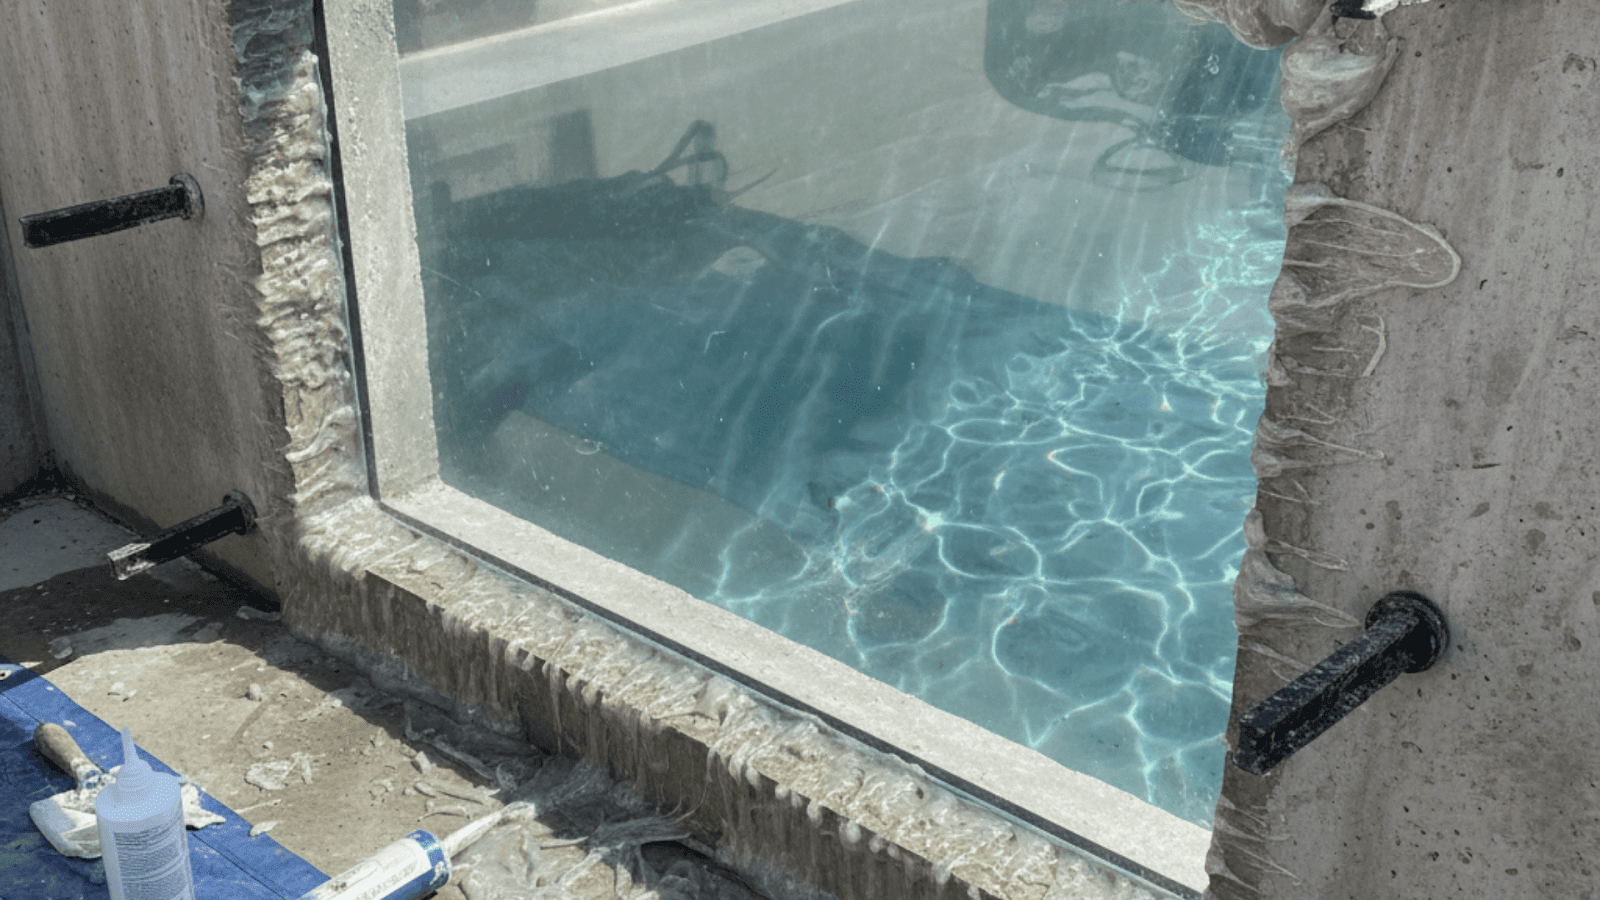
This deserves its own focus because windows are special. And I personally adore pool windows or underwater windows.
I. Rebate / Frame creation
The structural opening (rebate) for window panels should be shaped, reinforced, and designed before major concrete pours. The rebate must match the window panel size (plus tolerance), account for sealant bead depth, and must allow for differential thermal expansion.
II. Waterproofing behind the rebate
The rebate surfaces (both wet side and back side if accessible) must be clean, smooth, primed/sealed before installing the frame/window. Any irregularities here can lead to leaks around windows.
III. Sealant selection & method
Use non-corrosive, UV-stable, fully submerged rated sealants that adhere to both window material (glass or PMMA) and concrete/structure. Often multi-component (epoxy/polyurethane) or silicone specifically formulated for acrylic or glass windows.
IV. Testing around windows
After window installation but before filling the full pool, do a partial fill (below window level) to check seal integrity. Hydrostatic test or leak test specific around window perimeters.
Step 6 – Leak Testing & Quality Assurance
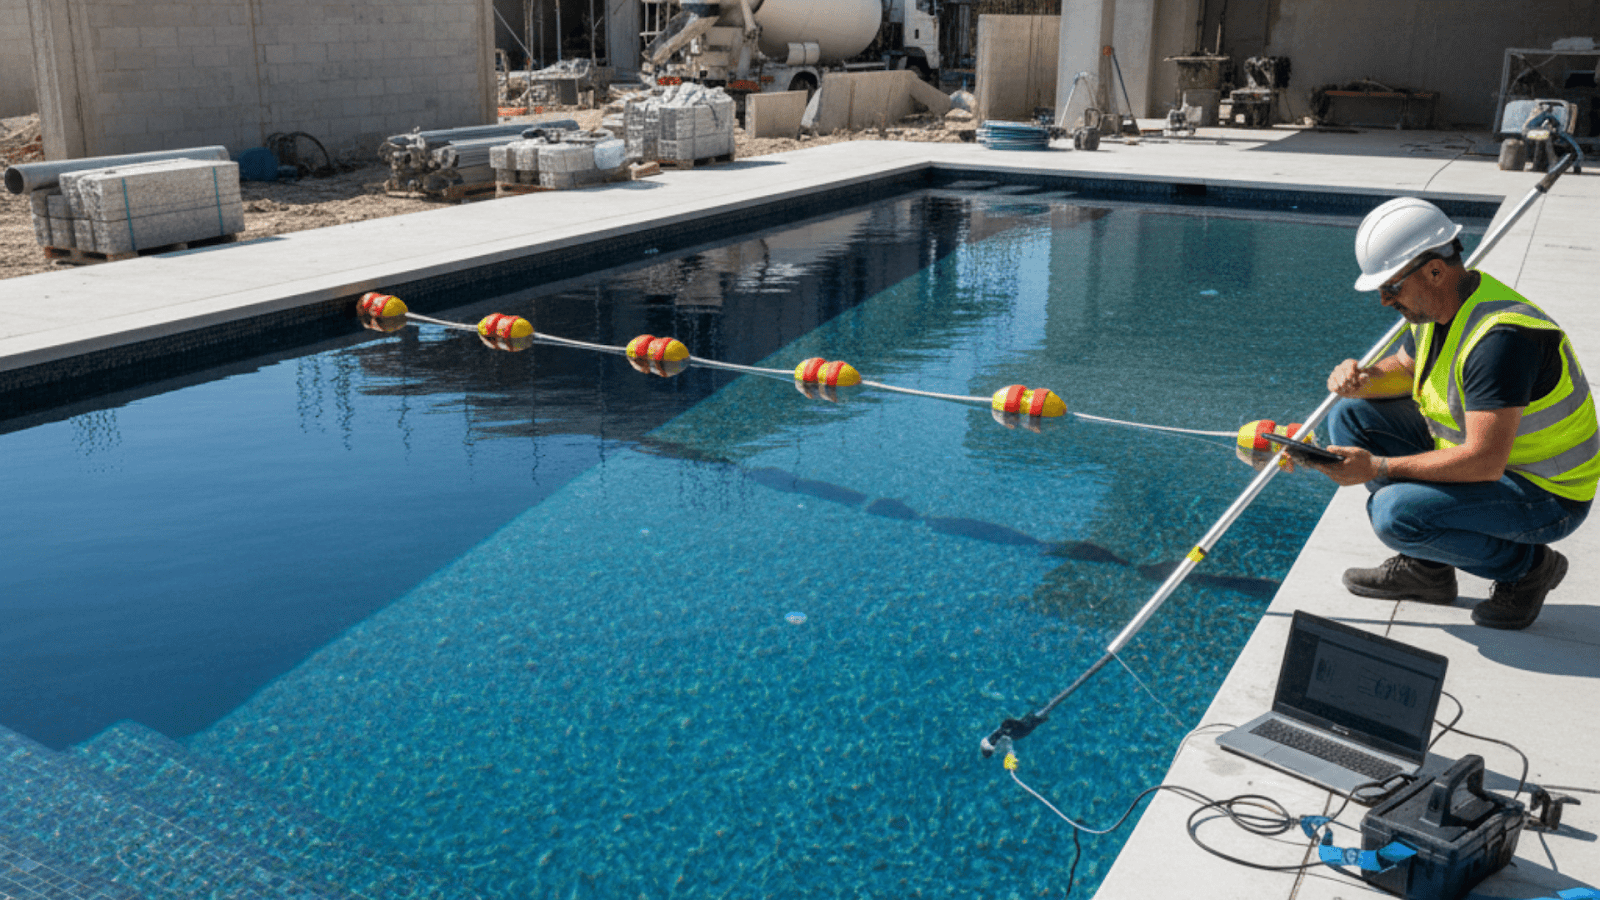
Now, once it’s all done, you need to ensure there are no available leaks.
I. Phase / staged fill testing
Fill the pool in stages: just floor, walls up to first fittings, then above windows etc., to isolate any leaks. TEC’s guidelines emphasize staged testing.
II. Comparison vessel method
Use a small container of water next to the pool to measure evaporation vs pool water loss. If pool water drops more, you have leak paths.
III. Visual inspection of joints, corners, around windows
Watch thoroughly using torch, flashlight, divers or underwater camera if window panels are large.
IV. Document everything
Keep records in every way possible: Photos, measurements, material batch codes, sealant types. These are critical for warranties.
Step 7 – Final Finishes & Protective Coatings
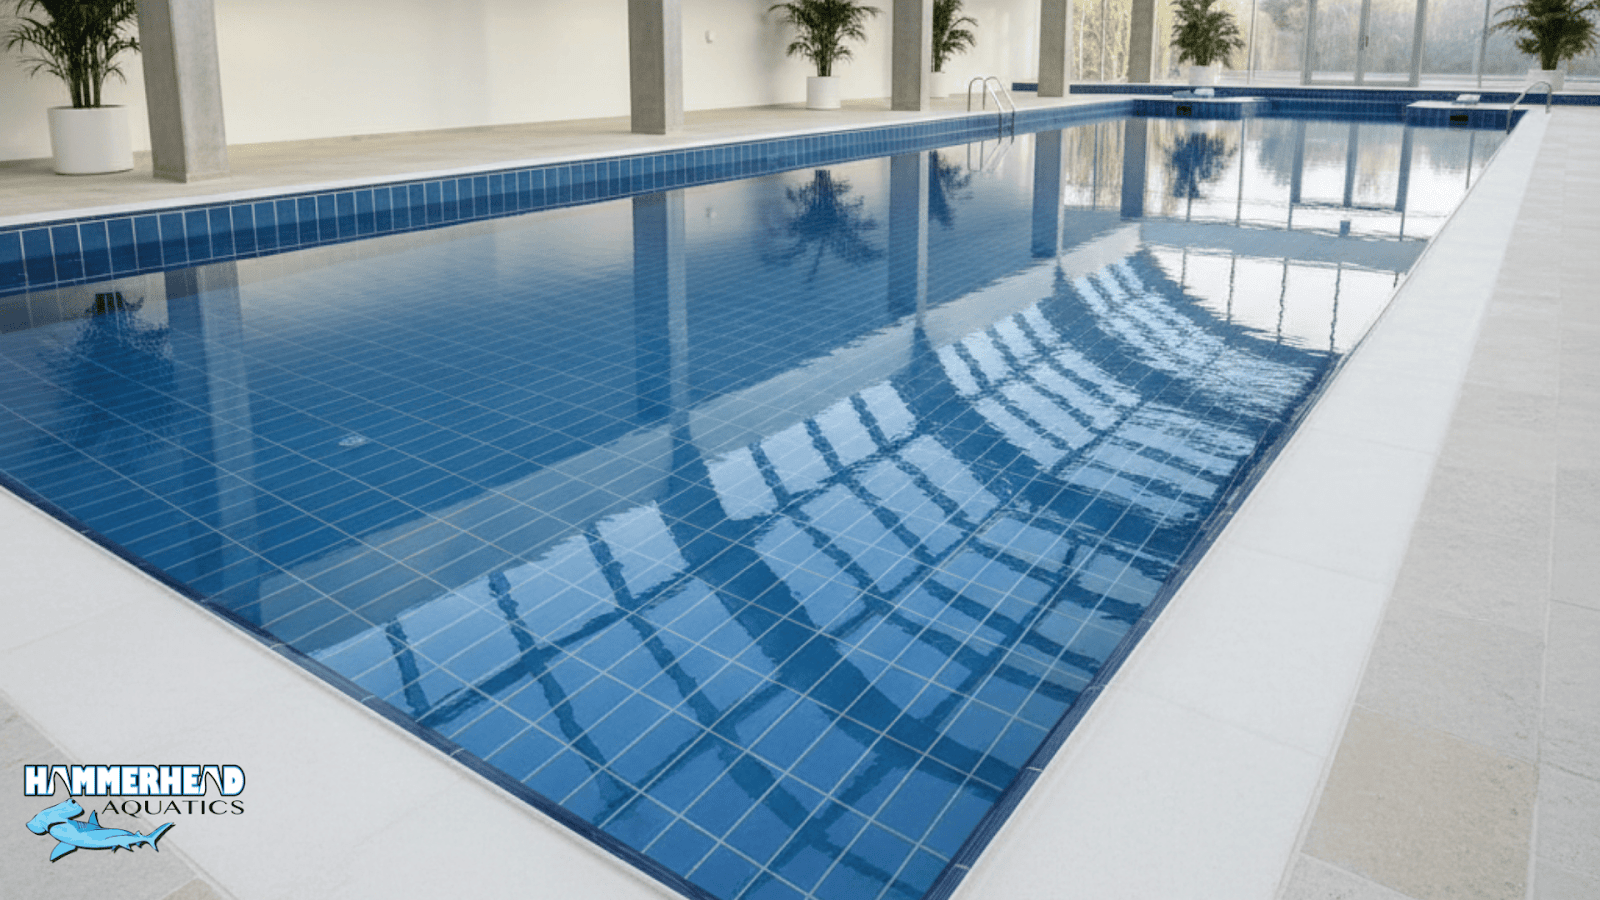
Once you are absolutely sure, then it's time to give the finishing touches to make the pool look incredible.
I. Tile / Plaster / Finish
Lay tiles, grout with epoxy or polymer-enriched grout; ensure joints are correct width. For plaster, ensure it’s properly mixed, applied, and that water does not pond in uneven spots.
II. Edge treatments & coping
Especially important around pool windows—external surfaces must shed water away; internal joints sealed to avoid capillary action pulling water into structure.
III. Protective top coats
Some finishing systems (epoxy paints, anti-chlorine coatings) provide extra resistance. If windows are acrylic panels, avoid coatings or cleaning agents that may degrade acrylic or cloud its surface.
Step 8 – Maintenance & Long-Term Care
Till now, those were all part of what a pool expert needs to do to install a new pool with proper waterproofing. But this doesn’t mean there couldn’t have been errors or that nothing may come up. In fact, if you don’t maintain things well, there could be trouble.
So make sure to do the following.
I. Scheduled inspections
Every year at least. Check grout lines, sealants, especially at windows, light fittings, and joints.
II. Cleaning & chemical balance
Poor water chemistry (low/high pH, high chloramines) degrades membranes and sealants more quickly. Acrylic windows are especially sensitive to scratches and chemical attacks.
III. Re-seal when needed
Sealants around windows often need refreshing every 4-7 years (depending on material and exposure).
IV. Address cracks quickly
Even tiny ones in plaster or tile grout should be sealed before they lead to membrane damage.
Common Pitfalls & How to Avoid Them
I’ve been called in on more “rescue jobs” than I can count where homeowners were frustrated because their brand-new pool was leaking within months. Most of the time, the issues weren’t exotic; they were the same repeat mistakes that come from rushing, cutting corners, or inexperience. Here are the big ones I see, and how to stay clear of them:
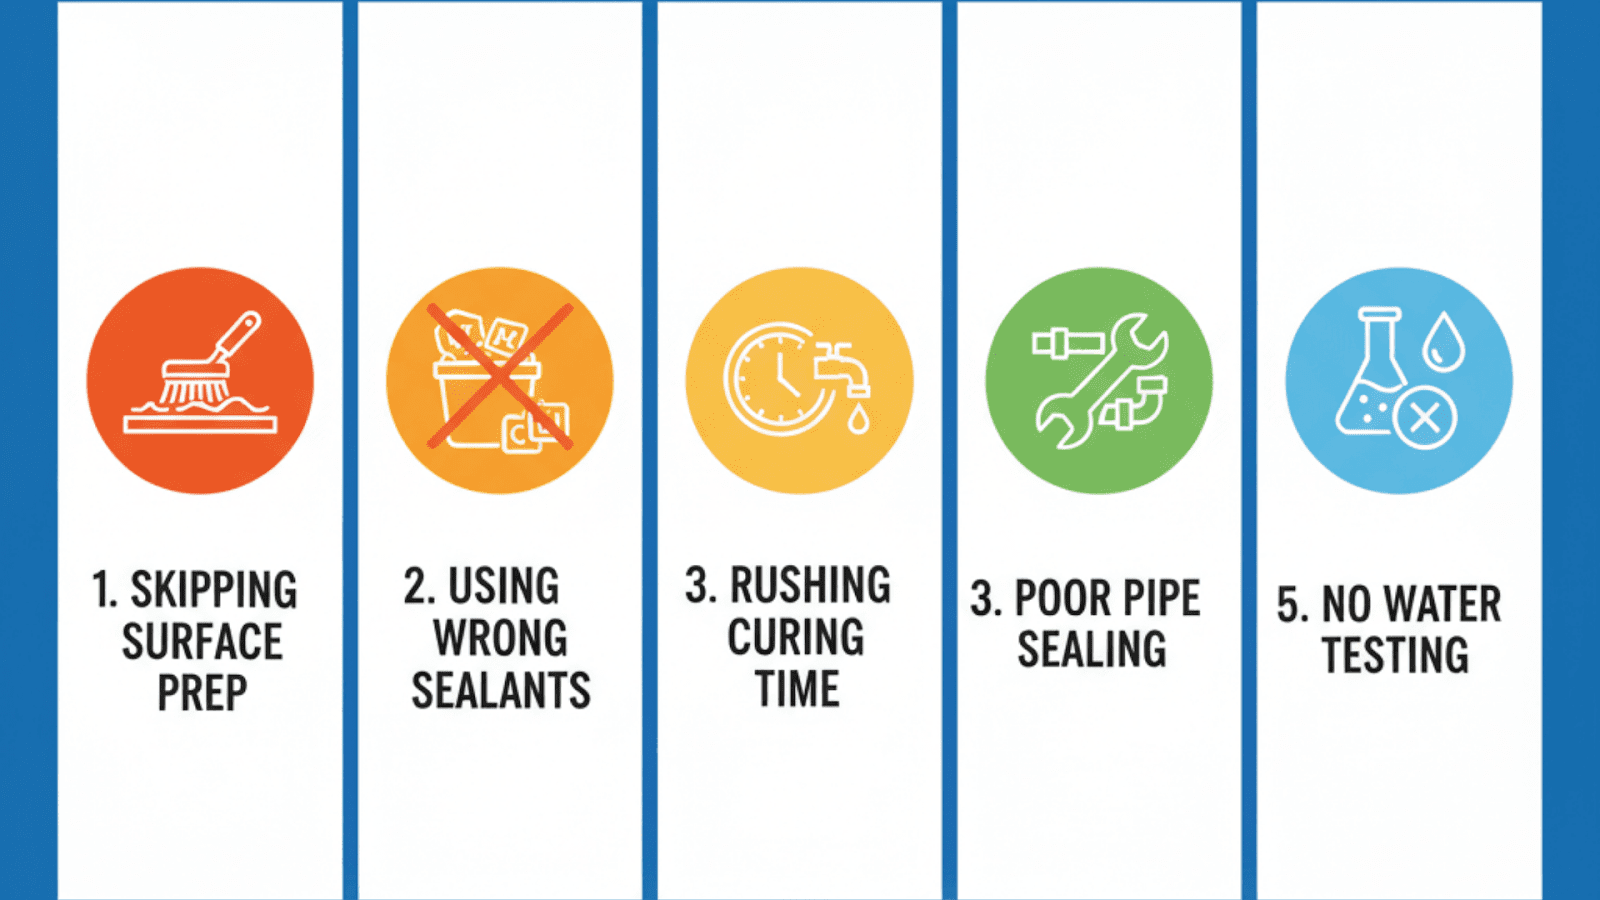
I. Skipping the boring prep work
Everyone wants to jump straight to membranes and finishes, but if the concrete shell is rough, full of honeycombs, or not cured properly, no coating will stick long-term. I’ve seen contractors try to plaster over voids, only to watch water track right through. Always fix the substrate first, grind, patch, level, seal joints, before waterproofing even starts.
II. Treating windows like “just another fitting”
Pool windows are spectacular features, but they’re also the most common leak point. I’ve seen windows sealed with the wrong silicone, slapped in without priming the rebate, or even installed out of square. Water will find those gaps in a week. The fix? Use sealants rated for submerged use, prepare the rebate smooth, and test just the window before filling the pool.
III. Rushing the cure time
In the summer heat, I’ve seen crews apply a membrane in the morning and start tiling by afternoon. Sure, it looks done, until the first winter when the coating cracks. Every product has a cure schedule; respect it. Waiting 24–48 hours now saves thousands later.
IV. Ignoring “small” details like pipe penetrations
Lights, skimmers, inlets — these tiny holes are often sealed with a quick dab of mortar. That never lasts. The water doesn’t care if the hole is 5 inches wide or 5 mm. It’ll push through. Always flash and seal these penetrations properly with tapes or collars before covering them.
V. Assuming testing is optional
Too many builders fill the pool, add tiles, and hand over the keys without ever doing a staged leak test. I once traced a leak back to a single corner that would’ve been caught with a partial fill test. Always test the shell in stages: first floor, then walls, then above the window line.
In short, most waterproofing “failures” aren’t material failures, they’re human ones. Slow down, follow the process, and respect the details, especially around complex features like pool windows. That’s how you avoid the nightmare calls later.
Final Thoughts
Swimming pool waterproofing is where craftsmanship and science meet. Over 30 years in this field, I can say that your pool’s longevity depends far more on getting waterproofing right, and especially integrating delicate features like pool windows, than on fancy tile or lighting.
When all parts are done correctly, you get a pool that holds water reliably, looks beautiful, delivers those wow moments through a window panel, and doesn’t leak expensive headaches.
Expert Pool Window Design & Installation
If you’re considering adding a pool window (acrylic, glass, transparent panel) or want to ensure the waterproofing around windows is done perfectly, I’d be happy to help. My team at Hammerhead Pools has handled dozens of projects with underwater windows, recessed view panels, and transparent end walls. If you want, you can get a free quote.
And if you have any questions regarding materials, how we design the rebate, select sealants, and integrate window waterproofing so that no leaks ever occur, drop a comment below or reach out to schedule your free consultation.
FAQs
Here are some questions I’ve encountered repeatedly in 30+ years of pool construction & waterproofing. If you have others, feel free to ask.
1. What is the difference between positive and negative hydrostatic pressure, and why does it matter in pool waterproofing?
Positive hydrostatic pressure means water pressure pressing onto the waterproofing membrane from the “inside” (i.e. from the pool water side).
Negative hydrostatic pressure means moisture/groundwater pushing from the outside of the structure (i.e. under or behind the pool shell).
If your system only handles positive pressure, groundwater or moisture from beneath the concrete could seep through; if only negative, pressure from the interior can force water through defects. High-quality waterproofing systems must resist both. When designing, I always insist on membranes tested / rated for both positive & negative pressures, especially for in-ground pools or those built over basement or non-vented pads.
2. How do the materials around pool windows affect long-term waterproofing integrity?
Materials matter in two ways:
- Compatibility
Acrylic or PMMA windows expand, contract, and respond differently to chemicals, UV, etc., than concrete or glass. Using a sealant that doesn't adhere to the window material or becomes brittle will cause leaks. - Frame / rebate finish
Rough, irregular surfaces, poor concrete finishing, or gaps left in the rebate will stress the sealant, making water paths. Over the years I’ve seen leaks not from the window panel itself but from improperly finished rebates or corners, especially when people neglect waterproofing the back of the rebate.
3. How long should the waterproofing and sealants around windows last before needing maintenance or replacement?
In typical climate (warm, moderate UV, regular chemical treatment), high-quality sealants & membranes should last 5-10 years before significant maintenance; but around pool windows, you should inspect every 2-3 years.
Changes in temperature, UV, chemical load, or physical stresses (swimming cheek by jowl, cleaners scratching surfaces) can shorten lifespan. If a manufacturer provides a warranty for 20-30 years on a panel, still the sealant around its perimeter will often need refreshing before that.
4. Can waterproofing be done after tile/plaster if there are leaks? How difficult is repair?
Yes, but it's significantly harder and more expensive. Retrofitting waterproofing means removing tile or plaster, exposing the membrane or shell, repairing or replacing damaged membrane or sealant, then reinstalling the finish.
Around windows, this is even more delicate: there is risk of damaging the panel, disturbing its framing, or introducing misalignment. That’s why doing it right the first time is far more cost-efficient.
When I perform repairs, I schedule them carefully, isolate around windows, often dry the shell completely, then reapply sealant and membrane only after the shell is fully ready.
5. What are the best products / membranes in 2025 for pool waterproofing I should look for?
From recent products & what I’ve tested:
- Liquid polyurethane or polyurea coatings with UV stable topcoats for exposed edges.
- Polymer-modified cementitious coatings for portions submerged or subjected to heavy water load.
- Elastomeric waterproofing membranes (liquid or sheet) with mesh reinforcement around joints.
- High-grade sealants designed for PMMA/glass for window applications; fully submersible, UV resistant.
Always check technical data sheets: minimum cure times, adhesion strengths, rating vs hydrostatic pressure, chemical resistance (especially chlorine, bromine, etc.), and warranty for submerged use.
6. How does climate (humidity, temperature, UV, freeze/thaw) affect pool waterproofing and windows?
Climate has huge impact:
- High UV exposure degrades sealants and acrylic windows if not properly UV-inhibited.
- Very hot temperatures can increase expansion of materials; cold causes contraction—sealants must handle movement.
- Freeze/thaw cycles (in some regions) can damage concrete, membranes, and window edges if moisture seeps in and then freezes.
- Humid environments slow curing of coatings/membranes; wet substrates can reduce adhesion.
In projects I’ve managed across tropical, temperate, and semi-arid zones, the specification (type, thickness, layers) of the waterproofing system always varied depending on climate.
Proper swimming pool waterproofing is essential to ensure the longevity and safety of your pool. By following a systematic process from substrate preparation to sealant application, you can avoid leaks, cracks, and costly repairs. For pools with delicate features like acrylic windows, it’s even more important to select the right materials and install them correctly. At Hammerhead Pools, we specialize in waterproofing and installing pool windows with the highest standards of care and precision. Contact us today for expert consultation and get a free quote to ensure your pool is built to last.


