
The Right Steps To Pool Water Testing – Beginner’s Guide (2025)

The Right Steps To Pool Water Testing – Beginner’s Guide (2025)
An important part of maintaining a pool is balancing the water chemistry. And it all starts with pool water testing.
If you do not test the water regularly, you may be unaware of the condition of the water. The pH level could be off, water may not be in the right alkalinity state, etc.
On top of that, even if you do test your pool water, if you do it carelessly, you may not even detect the issues. Eventually, the water could get cloudy, green swamps may form, and so on.
So today, I will share my experience with you by giving you the exact steps you should follow to test your pool water correctly.
TL;DR – Pool Water Testing The Right Way
- Always test after the pump has been running for at least 15 minutes
- Take your water sample from elbow depth, away from returns or chlorine feeders
- Rinse your test vial with pool water before using it
- Use test strips for speed, or liquid drop kits for accuracy
- Avoid testing next to returns, skimmers, or chemical dispensers
- Store test kits in a cool, dry place and replace reagents annually
- If you take your sample to a pool store—ask for actual numbers, not just “buy this”
🎯 Bottom line: Good testing = good water. And good water = no stress.
Why Water Testing Matters More Than Guessing
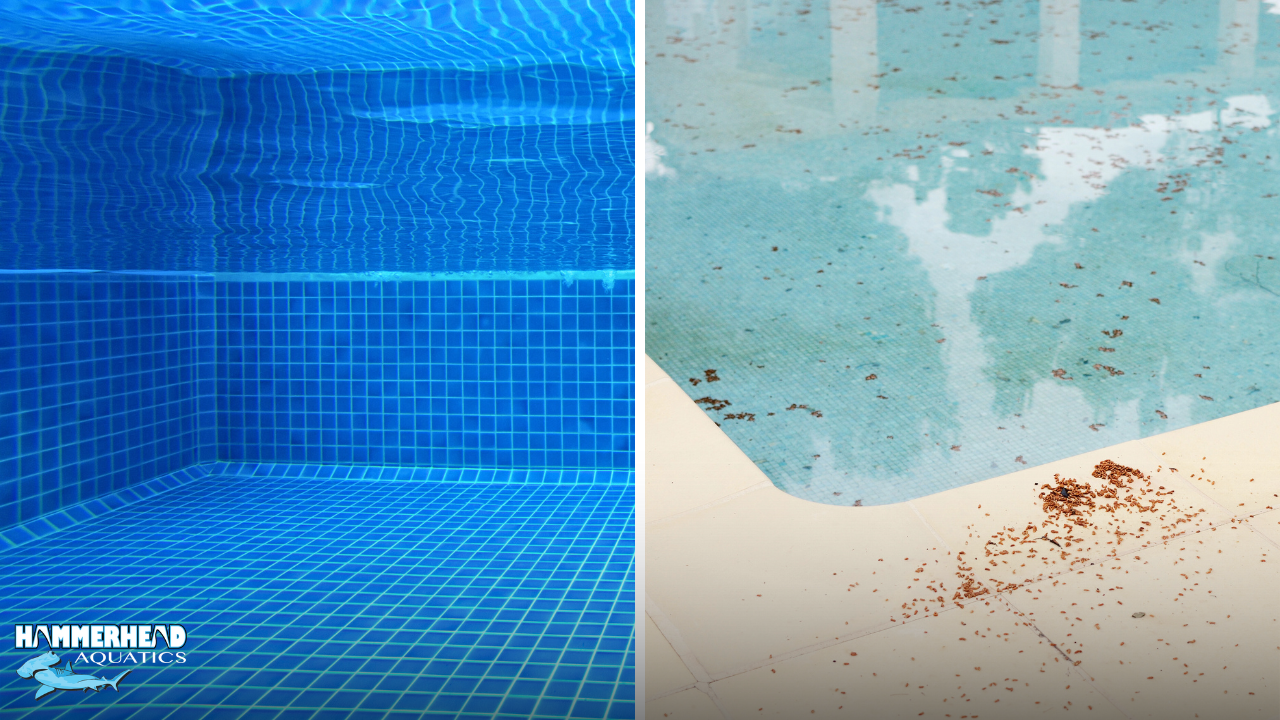
Testing the pool water isn’t about micromanagement. It’s about staying one step ahead. You should always be aware of the water’s chemical balance so that it doesn’t damage your pool (with calcium nodules, white calcium carbonate formation, algae growth, etc.) or affect swimmers negatively (such as itchy skin, burning sensation in the eyes, etc.).
In fact, it is equally important to run a proper test right before taking any measures to balance the water for chemicals.
Types of Pool Water Tests (What Should You Use?)
There are three main ways to test your pool water, and each serves a specific purpose depending on your needs.
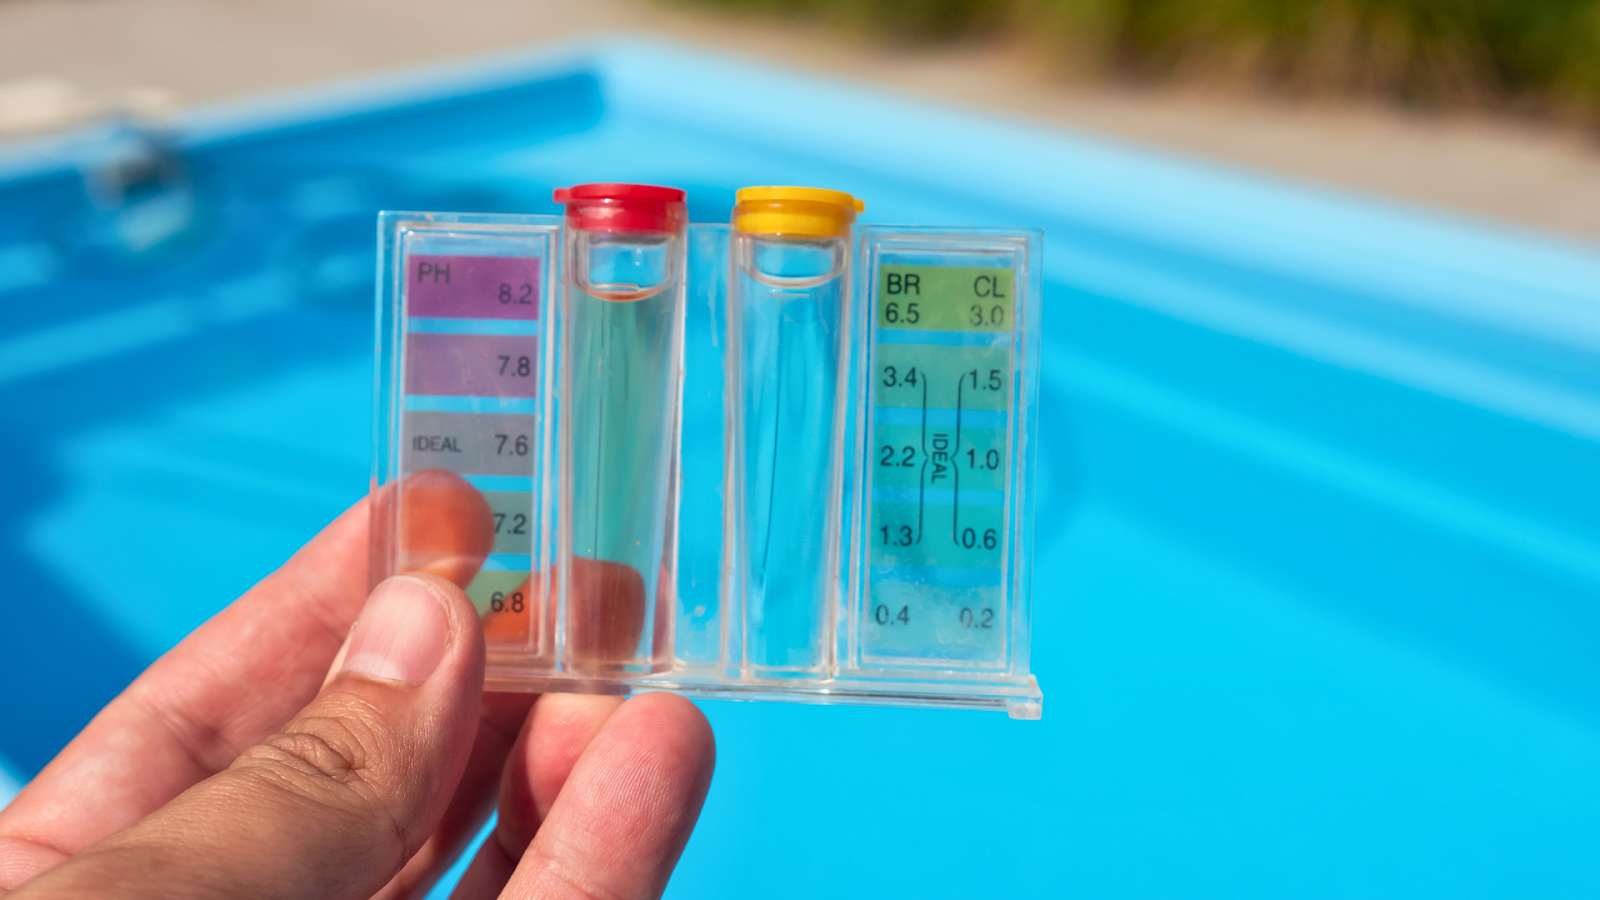
1. Test Strips
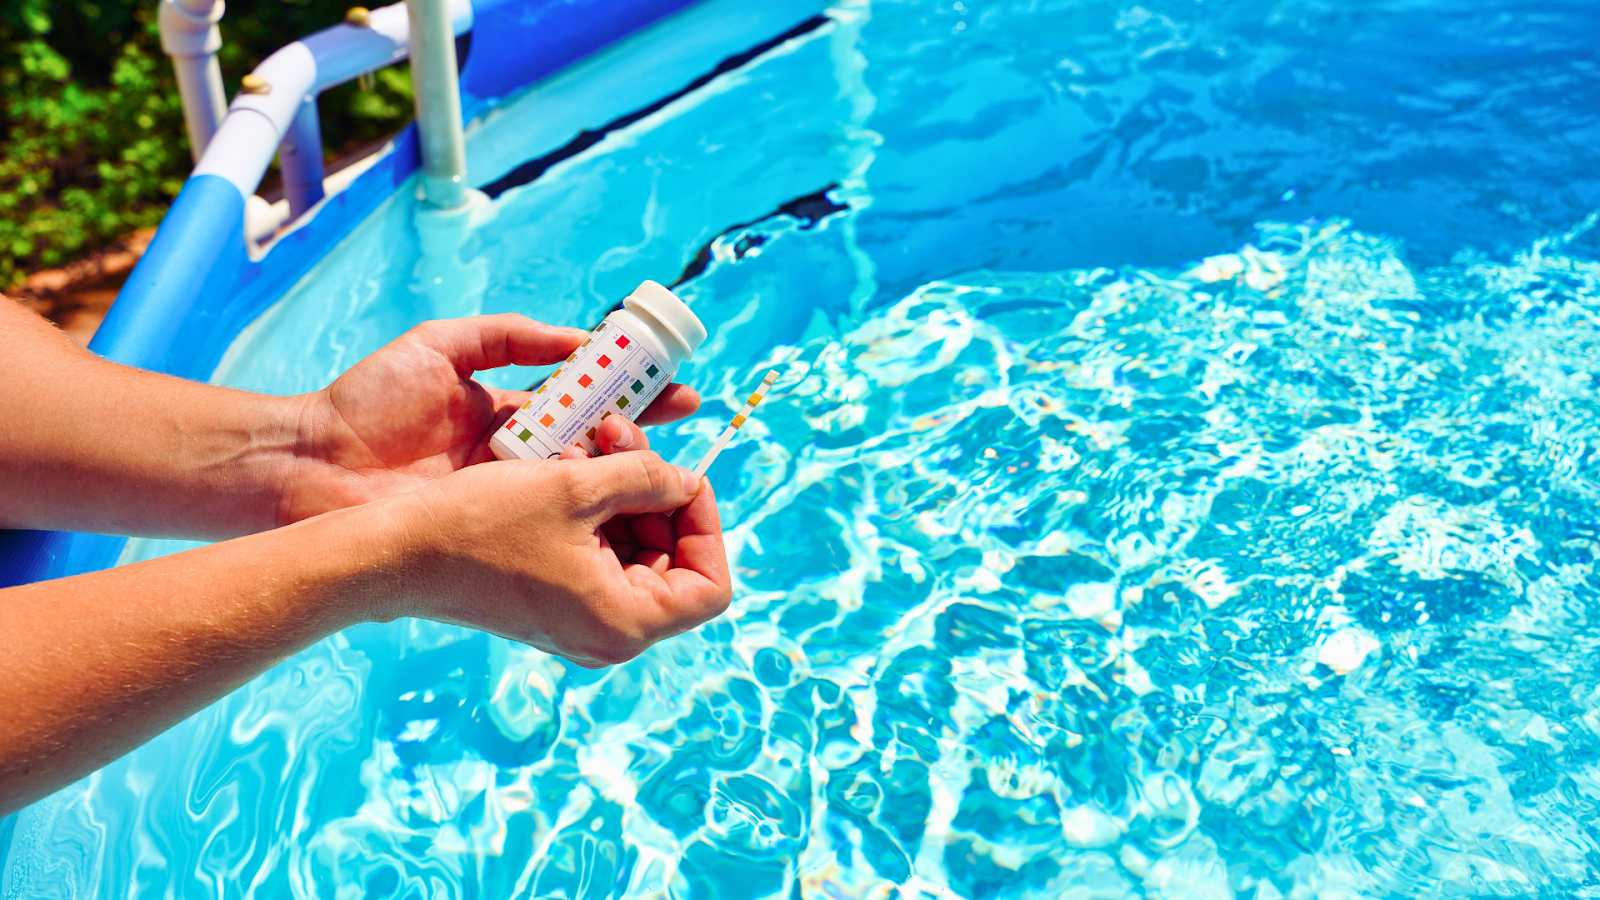
Test strips are the fastest and most convenient option for water testing. This is best for daily checks when you have a heavily used pool.
You simply dip the strip in the water and compare the color pads to the chart on the bottle. It will let you analyze and estimate the chemical balance.
While they aren’t the most precise method, they’re easy to use and great for spotting basic issues quickly.
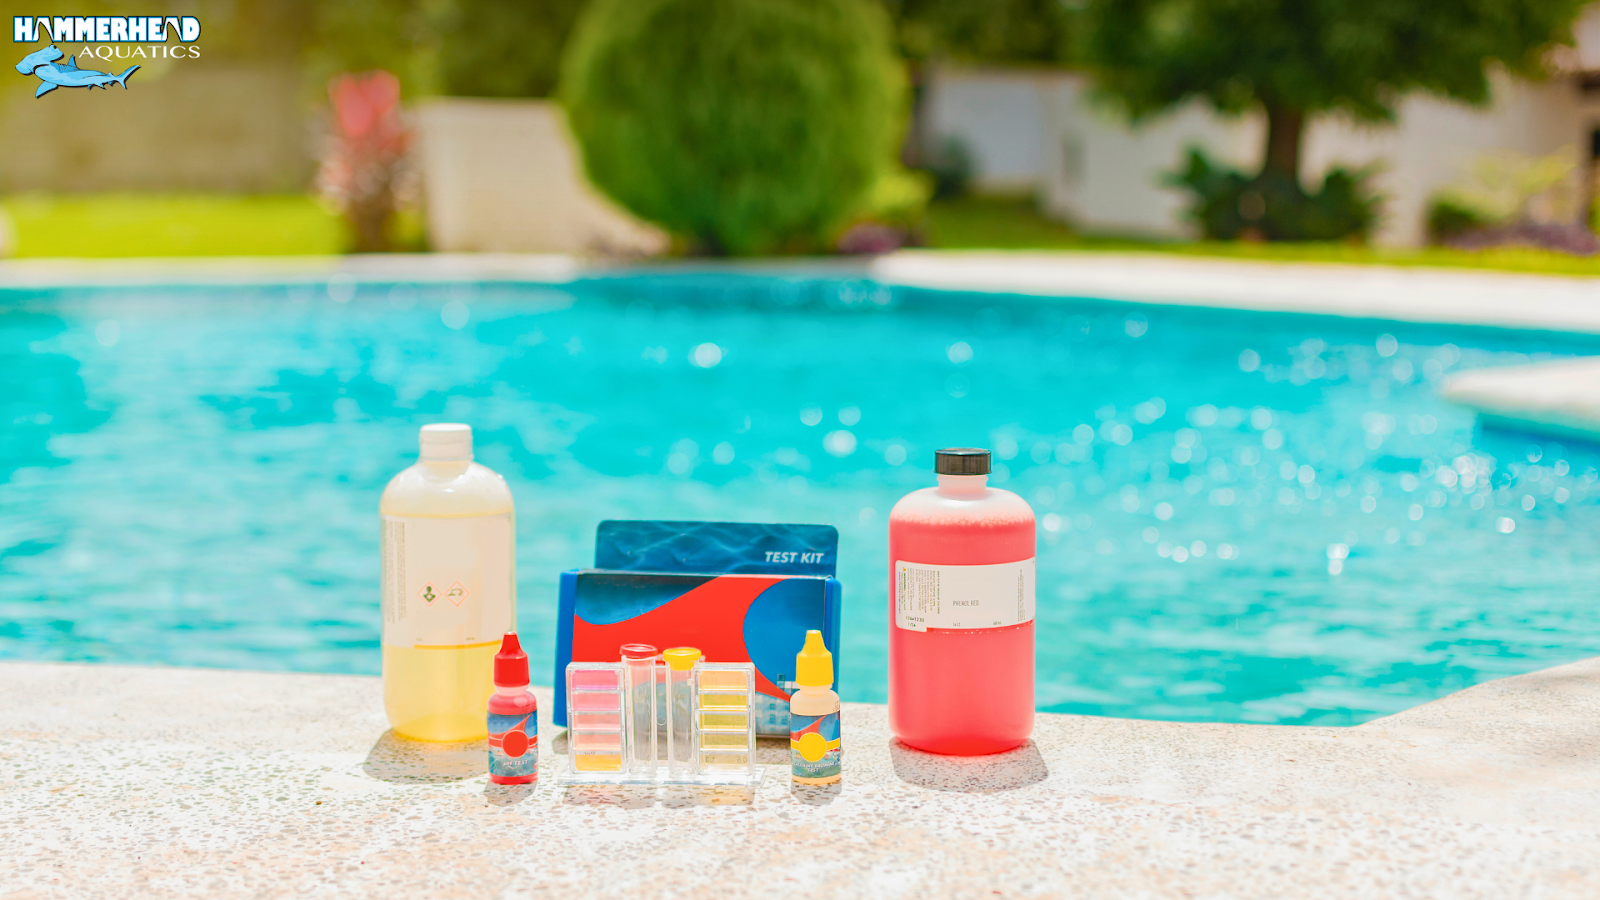
2. Liquid Drop Kits
For better accuracy, you may use a liquid drop kit such as Taylor K-2005 or K-2006. These kits allow you to test key parameters like chlorine, pH, total alkalinity, calcium hardness, and cyanuric acid.
They're ideal for weekly testing or diagnosing imbalances when something feels “off.” You may need a bit more time to learn how to use these, but if you love your pool, I’m sure that won’t be a problem.
3. Professional Lab Testing
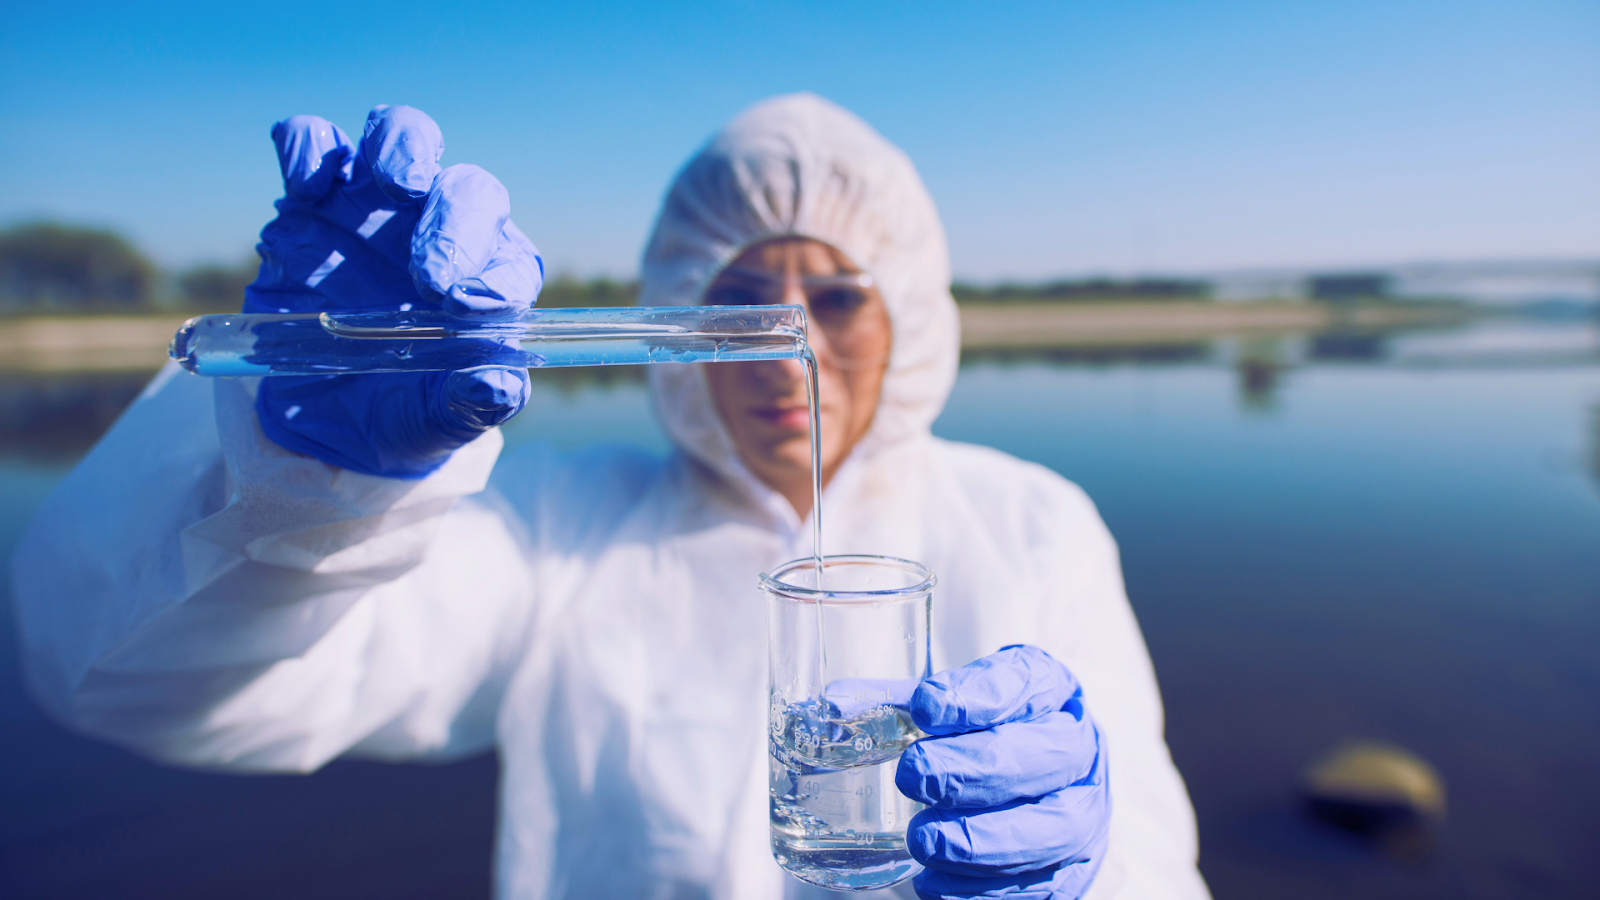
Well, if you are not confident with the DIY options, want a more expert analysis, or if you don’t have time to do it yourself, you can always go to a nearby pool store and run a professional lab test.
Store tests can detect metals, phosphates, nitrates, and other less-common issues. Just make sure to ask for the actual test numbers, not just a list of recommended products. That way, you stay informed and in control.
It is recommended to carry it out once every couple of months to avoid missing out on those additional materials that you don’t usually get to detect with the other two DIY pool water testing options.
Step-by-Step: How To Collect A Water Sample Properly
If you need to collect a water sample, then as a beginner, you can end up doing it wrong without a proper approach.
So, let me help you out to do it right.
- Run your pump for 15–30 minutes first
Get the pool water to circulate a bit so that your sample isn’t from a stagnant zone. - Rinse your test container with pool water
Residue of any sort can skew the results. So, rinse the container with water even if it looks clean. Swirl and dump water in it twice. - Go elbow-deep to take the water sample
Do not collect the water sample from the surface. And do not take it from next to the skimmer or the return jet either. Lean and go 12-18 inches into the water with the container to get a well-mixed sample. Be careful not to fall in while collecting it. - Try to avoid high-chlorine zones
It’s best to collect the sample from a side where there are no nearby floating dispensers, salt cells, or inline chlorinators. Water around them can contain more Chlorine, which can alter the test results. - Cover up your sample quickly
High/low temperatures and exposure to air for too long can change the chemical balance of the water a little. So, immediately after collecting the sample, close the opening of the container until you are ready to test (which you should try to do soon).
If you plan on taking it to a store, go straight there. Don’t leave it baking in a hot car for hours while you run errands because after a while, it may not reflect your real pool chemistry anymore.
Test Strip Tips: Avoid These Rookie Mistakes

- Don’t touch other strips when removing one—moisture or dirt can spoil the rest
- When testing directly into the pool, dip to elbow-depth and hold it level (don’t shake it around).
- Follow the instructions for how long to hold it before reading (usually 15 seconds).
- Compare the strip immediately after dipping. The longer you wait, the more altered the results will be
- Don’t test if chlorine levels are very high (strips can “bleach out” and mislead you).
**If your strip shows no chlorine, but your pool smells strong or your pH reads weird, dilute the sample and retest. High chlorine may have blanked out the strip.
Liquid Reagent Kits: Small Sample, Big Accuracy
If you're using a drop kit (like the Taylor K-2005), it will give high accuracy if done right.
- Fill the container to the marked line at eye level
Use the bottom of the meniscus (water curve) for accuracy. - Hold the drop bottle straight up
Tilting the drop bottle will bring out inconsistent drop sizes, so hold it straight. Count the drops one at a time and avoid squeezing fast. - Never touch the sample with your fingers
Acids from your skin can throw off pH readings, so you should avoid touching it. - Cap and swirl—don’t shake
If it shakes, it may form bubbles, forming a visual distortion. So do not shake. - Read against a light background or northern daylight
To observe the color, try to observe through a light background or northern daylight. Avoid doing it near fluorescent lights; they can distort colors - Store your kit in a cool, dry place
Replace reagents yearly. Store it in a cool place with less moisture around it.
Key Numbers To Track Weekly
Here's what I recommend testing once a week—minimum:
- Free Chlorine - between 1 - 2 ppm
- pH level - between 7.4 - 7.5
- Alkalinity - between 100 - 150 ppm
- Calcium hardness - between 200 - 400 ppm
- Cyanuric Acid (Stabilizer) - between 30 - 50 ppm
- Phosphates (optional) - less than 100 ppb
Testing these consistently will help prevent 90% of pool issues before they start.
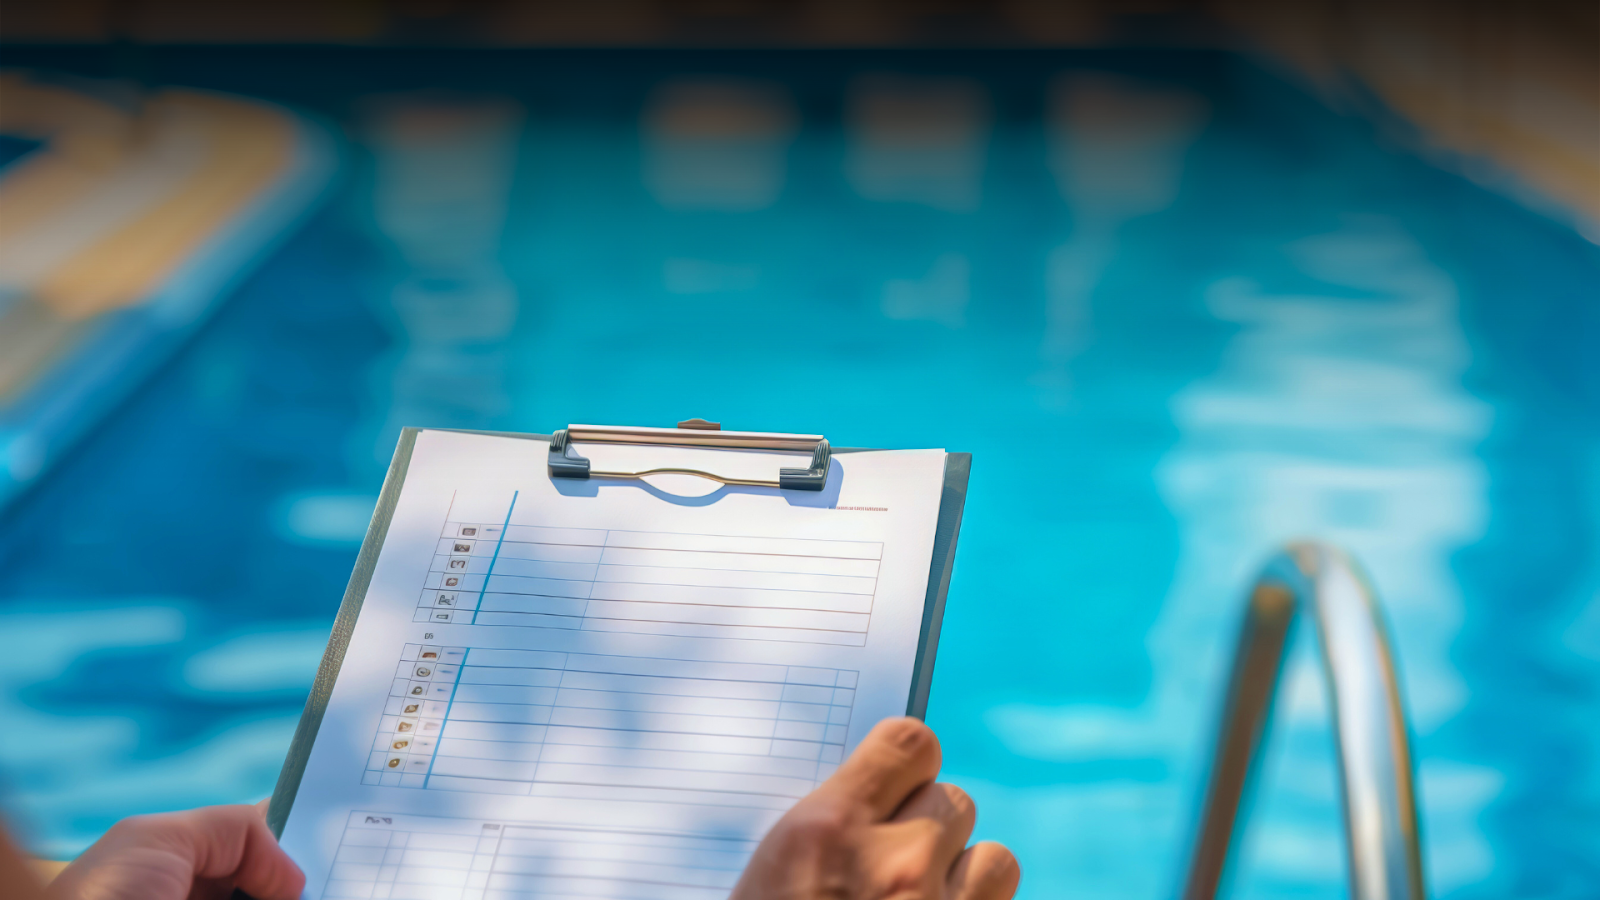
Bonus Tip: Always Ask for Numbers At The Pool Store
If you take your water in for testing, don’t just let them say,
“You need this and this and that.”
They will always try to sell you products as a solution. But you should always be sure what you are trying to solve.
Ask for:
- Exact values of each parameter
- Printout of the test results
- Notes on anything out of range
That way, you’re in control—and not just guessing based on a sales pitch.
Final Thoughts: Pool Water Testing Is Important For Proper Pool Care
If you really want to take proper pool care, you should find time to run water tests and take action accordingly to make your pool last longer, stay chemically balanced, and remain ideal for swimming.
Make sure to test often, test correctly, and act based on real numbers.
Once you get the hang of it, you will be 10x times more prepared when you notice something off with your pool water.
Remember, pool maintenance isn’t about reacting; it’s about staying ahead.
FAQs
1. How often should I test my pool water?
Test at least once a week during swim season.
If you’ve had storms, lots of swimmers, or cloudy water—test immediately after.
2. What’s better: test strips or liquid drop kits?
- Use test strips for quick daily checks
- Use liquid kits (like Taylor K-2006) for accurate weekly testing
3. Can I take my sample to the pool store instead?
Yes—but follow proper sampling steps, and ask for detailed numbers, not just recommendations.
4. Why does my test strip show no chlorine when I just added some?
Too much chlorine can “bleach out” test strips. Dilute the sample with fresh water and retest.
5. How do I store test kits properly?
Keep them in a cool, dry place—never in direct sunlight or by the pool. Replace reagents once a year for accuracy.
Master pool water testing with expert tips on using test strips, understanding chemical levels, and avoiding common mistakes. Ensure safe, crystal-clear water year-round with proper pool water testing techniques.


