
Pro Fix To A Green Swimming Pool - Step By Step Guide [2025]

Learn from a pool builder who’s fixed more than a few ‘pea-soup’ disasters; practical, no-nonsense, and written so you can act today.
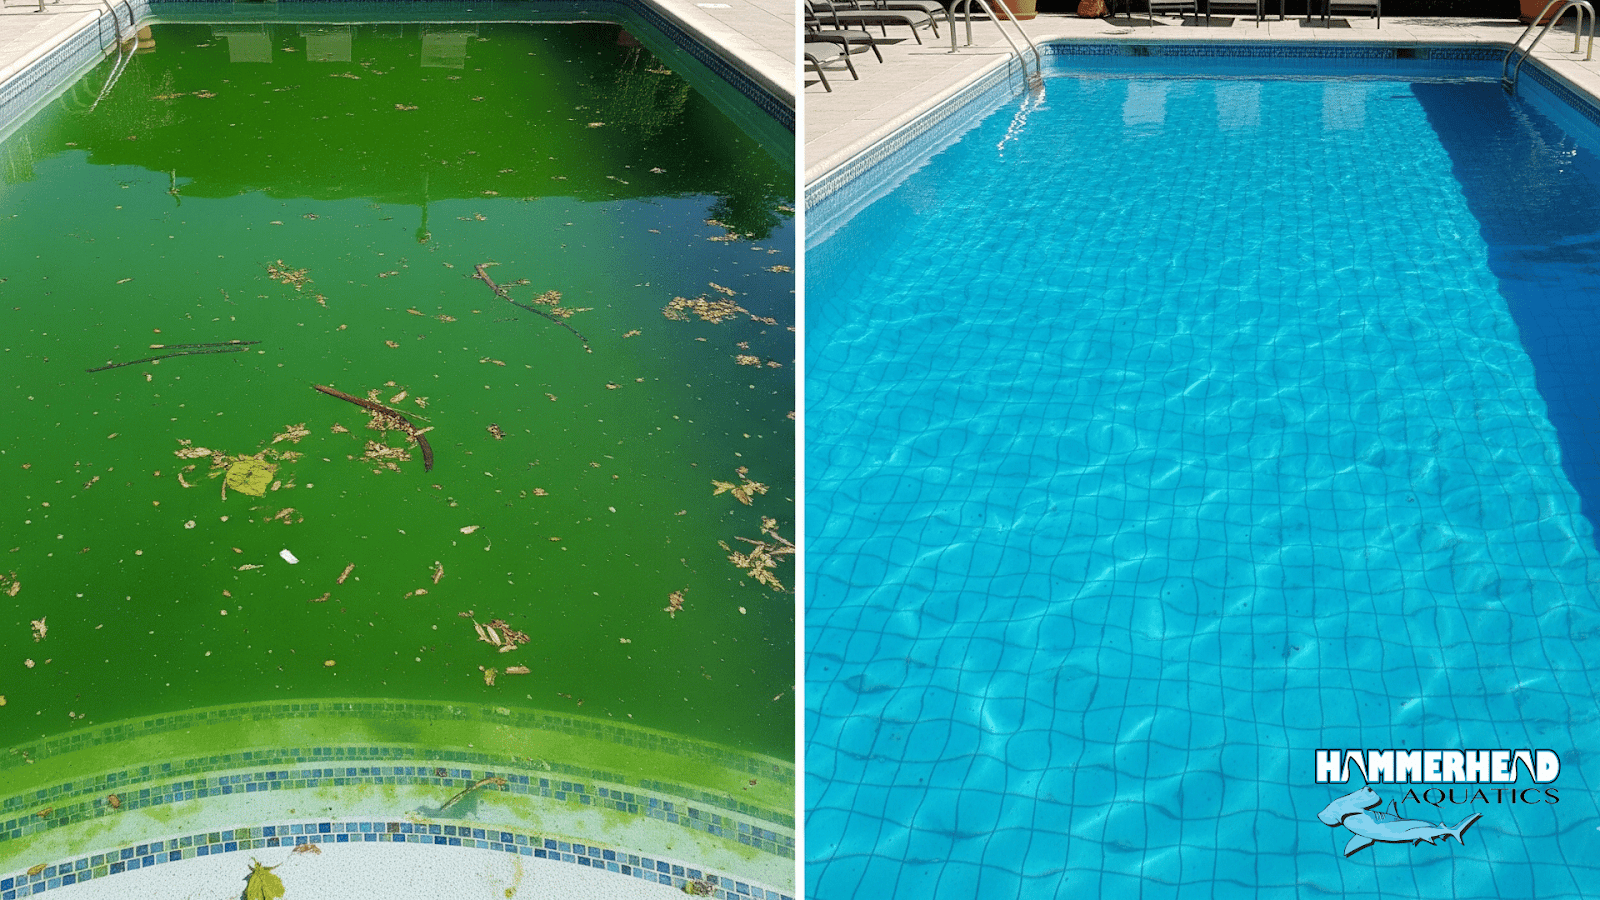
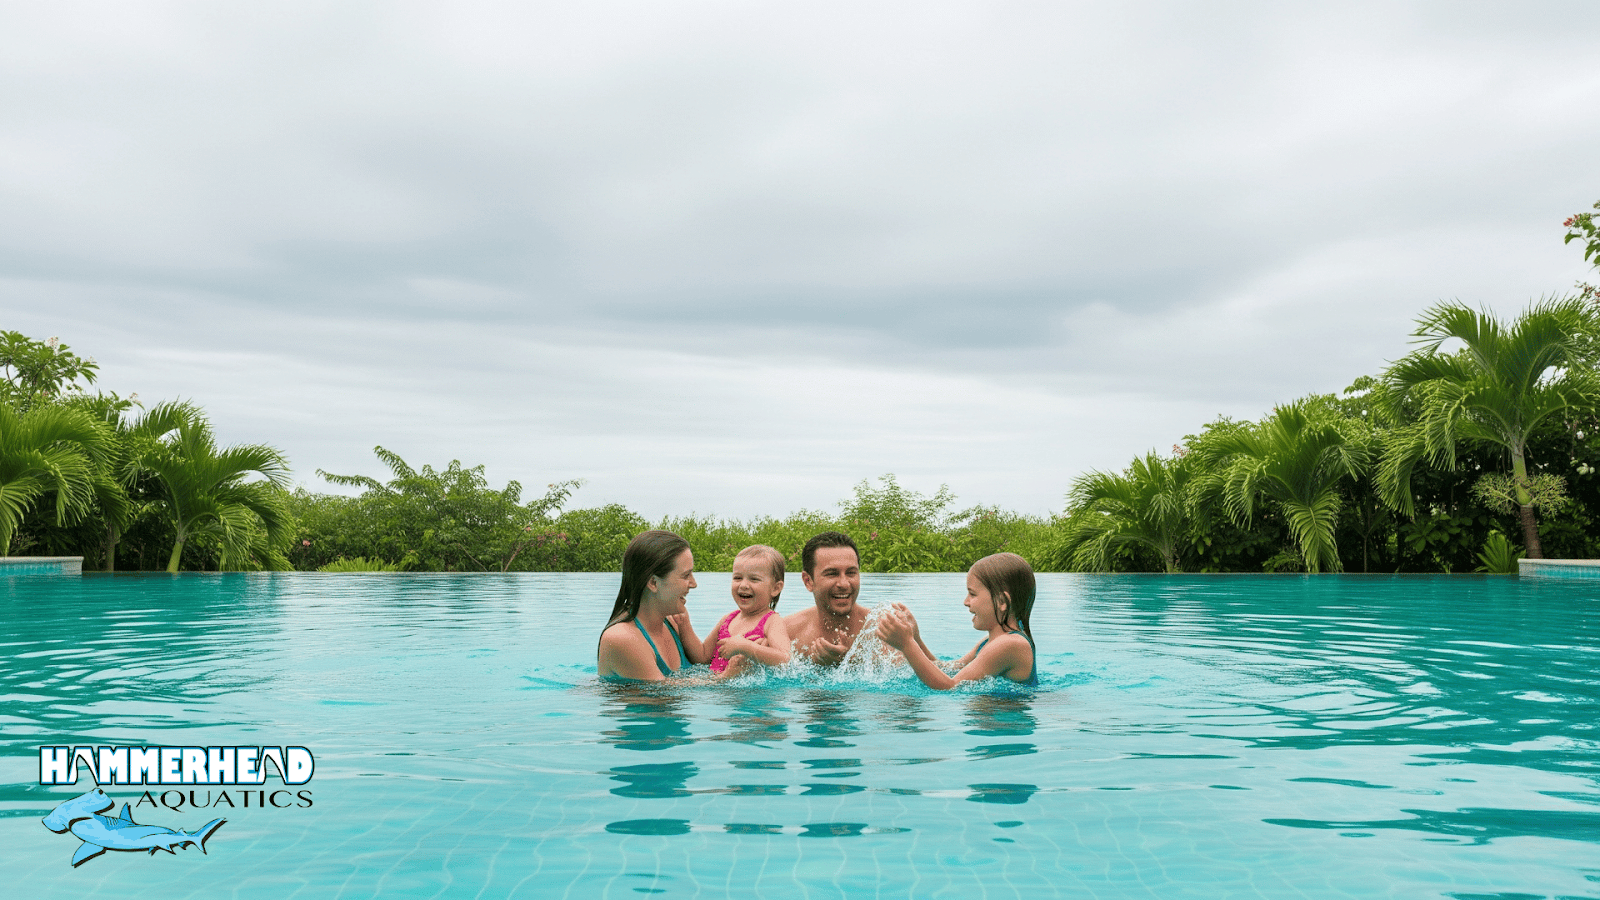
I’ll never forget the first green pool that made me genuinely laugh. A new built for a client who thought their “spa” had turned into a green smoothie after a week of hot weather and a busted pump. They called in a panic. We showed up at dusk with a handful of chemicals, a couple of brushes, and a truck full of patience. By the third day the kids were back in the water and the homeowner sent a picture with a giant thumbs-up.
That kind of turn-around isn’t luck. It's a method. Over 30+ years I’ve learned that clearing a green swimming pool is mostly about sequence and respect; respect for chemistry, for equipment, and for delicate features like acrylic pool windows. Get the order wrong and you chase the problem forever. Get it right, and you’ll be sipping coffee while the filter does the heavy lifting.
This guide gives you my exact, field-tested process: what to do first, how much to dose, what tools to use, and how to protect those acrylic windows that always seem to get the worst of it.
Let’s begin.
TL;DR - Fixing A Green Swimming Pool
- Test before you touch. Know your pool’s volume, FC, pH, TA, and CYA. Guessing wastes chemicals.
- Shock at dusk. Superchlorinate at night, maintain elevated free chlorine until algae is gone.
- Brush everywhere — gently around acrylic windows. Breaking algae up physically matters more than most people think.
- Run the pump 24/7 & clean filters often. Expect to backwash or clean multiple times in one day.
- Use floc or clarifier correctly. Clarifier for filter help; floc if you’ll vacuum to waste and want faster clarity.
- Always seek help from experts with a proven track record for this (such as Hammerhead Pools) because a poor delivery will cause the green to come back real quick.
Now, let’s dive into the details.
The Full Green Pool Rescue Plan Step By Step
Real quick: wear gloves and goggles. Keep kids and pets away. Read product labels. Okay? Let’s get to it.
Step 1: Size up the scene (first 10–15 minutes)
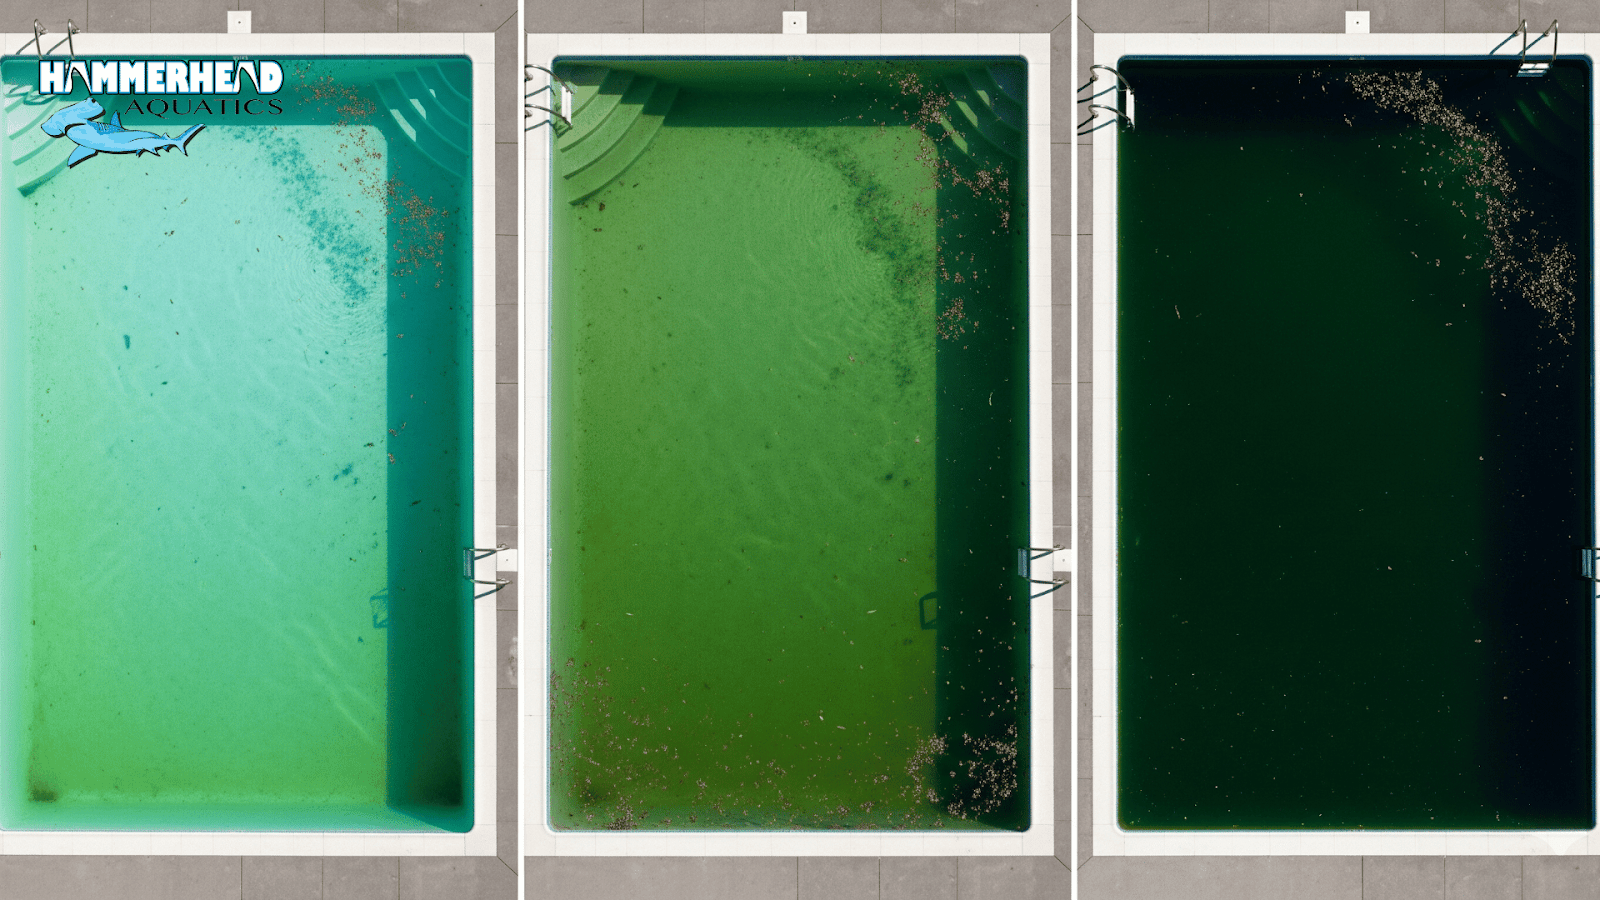
Walk the pool. How green is it? Light pea-green? Dark soup? Black dots on the walls? That visual tells you how aggressive you need to be.
A quick triage I use in the field:
- Light green: one strong shock and brushing will often do it.
- Medium green: double shock (or “double the normal shock”) and more brushing.
- Dark or black algae: heavy shock, persistent brushing, and sometimes spot treatments.
Make a note of skimmer and pump behavior: Is water pulling into the pump? Any air in the lines? If circulation is poor, fix that first. Algae loves “dead” corners.
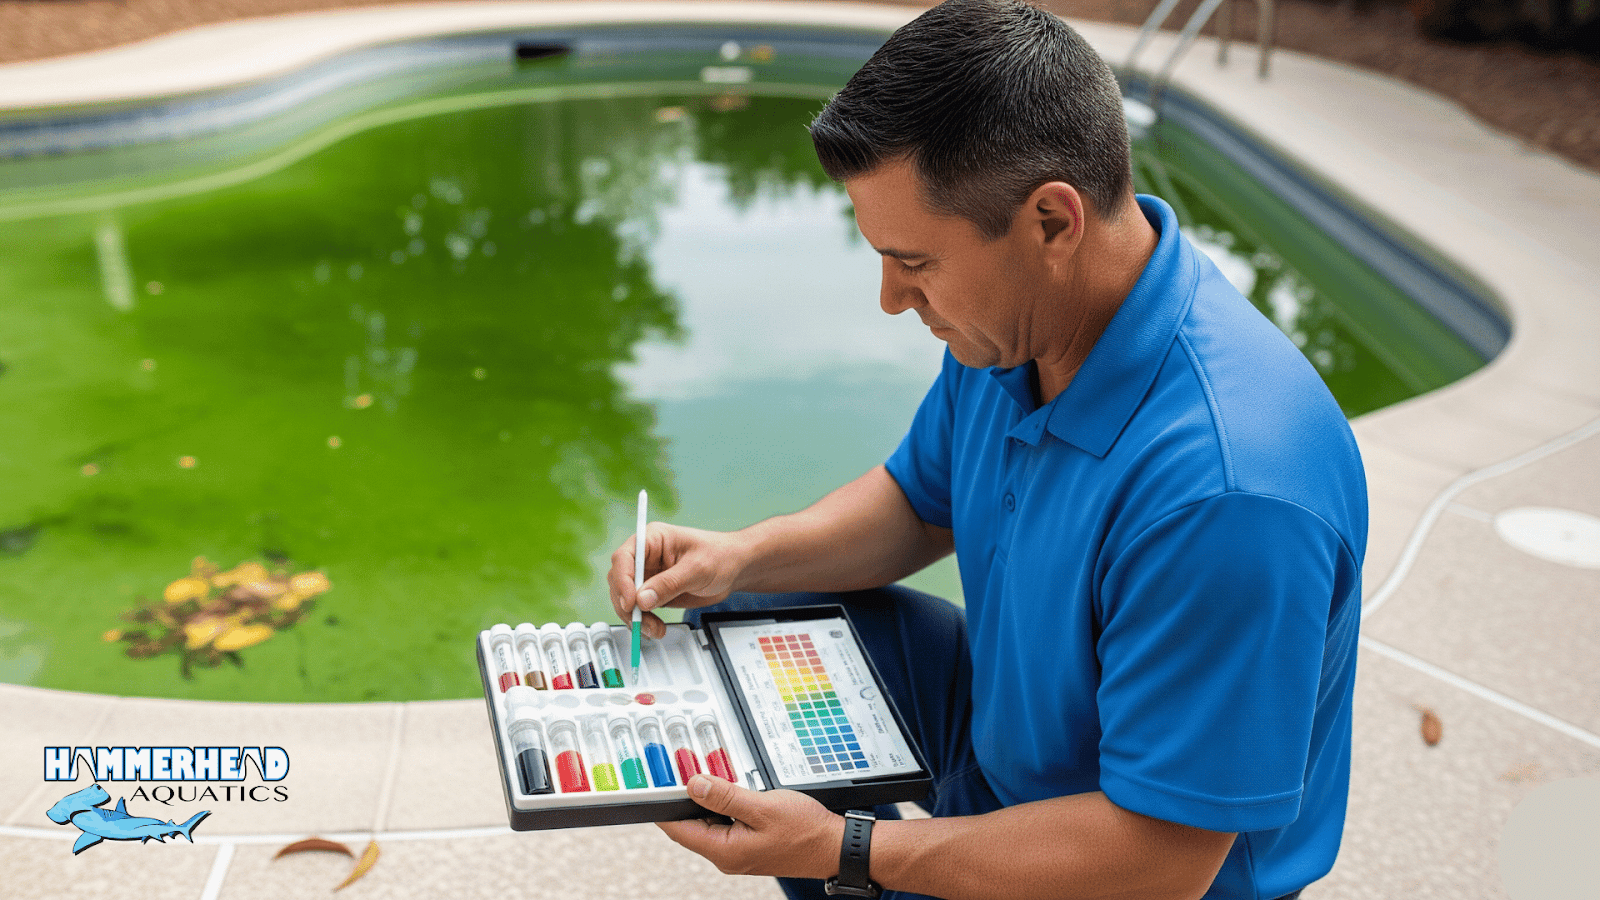
Step 2: Test the water (don’t skip it)
I see guys pour shock like it’s rainwater. Stop. Grab a reliable test kit (liquid DPD style or a trusted digital meter) and measure:
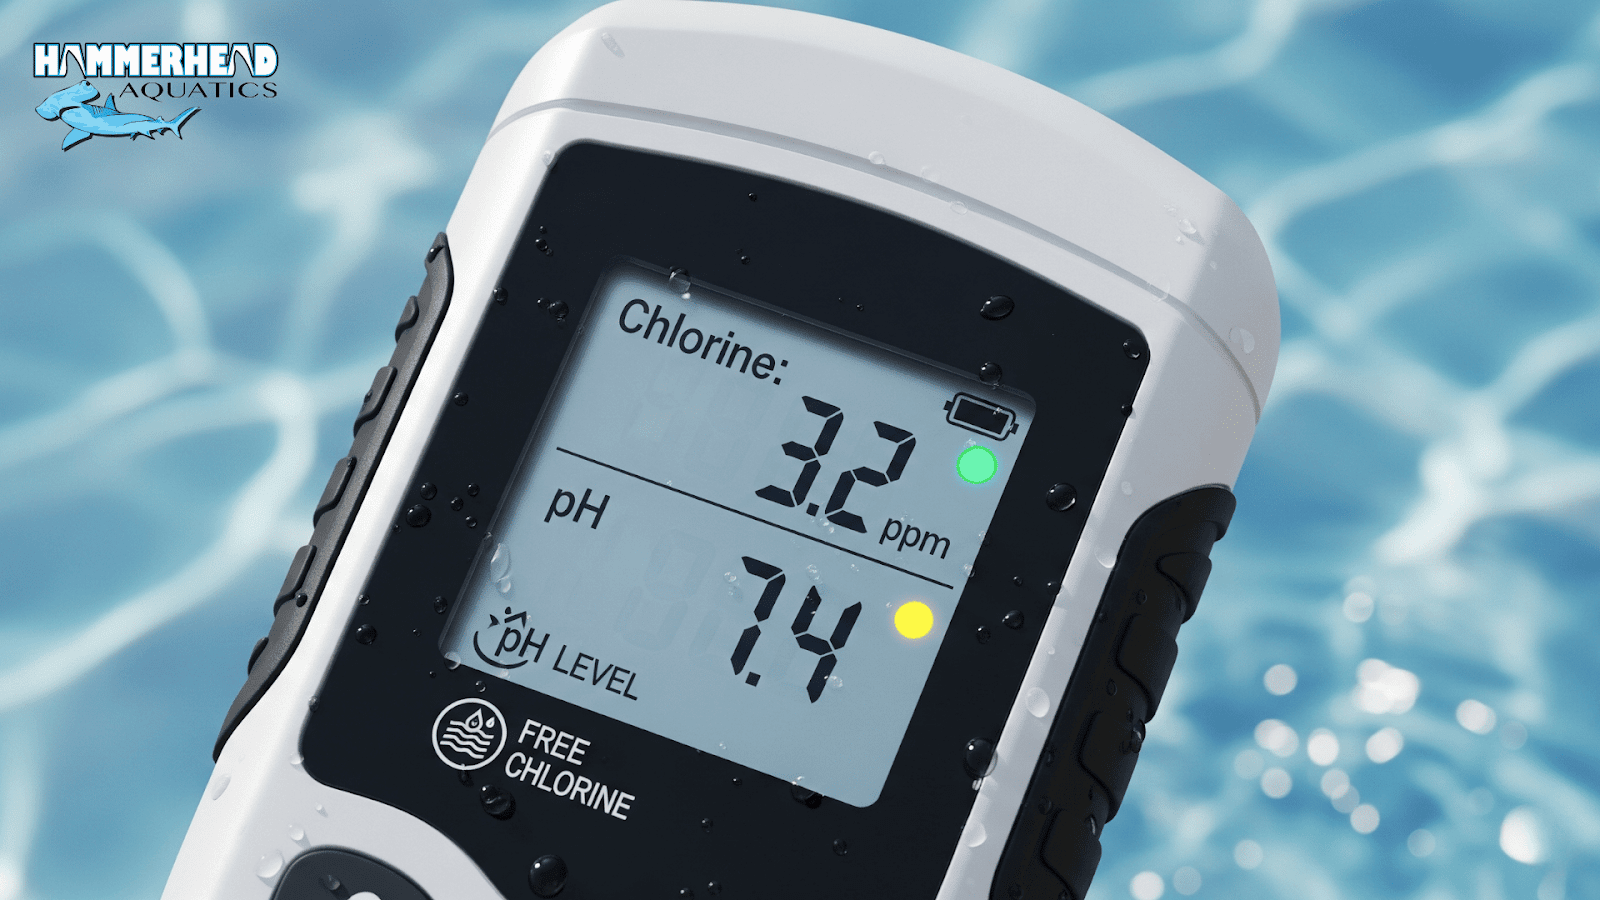
- Free chlorine (FC)
- pH level
- Total alkalinity (TA)
- Cyanuric acid (CYA/stabilizer)
Write the numbers down.
- If pH is high (over ~7.6), lower it to 7.2–7.6 before shocking; chlorine is far more effective there.
- If CYA is through the roof (over 100 ppm), understand that your chlorine will be less aggressive; you’ll need higher FC for a longer time.
Step 3: Choose your shock and dose it properly
Well, this could be tricky. You need to choose the right shock for this.
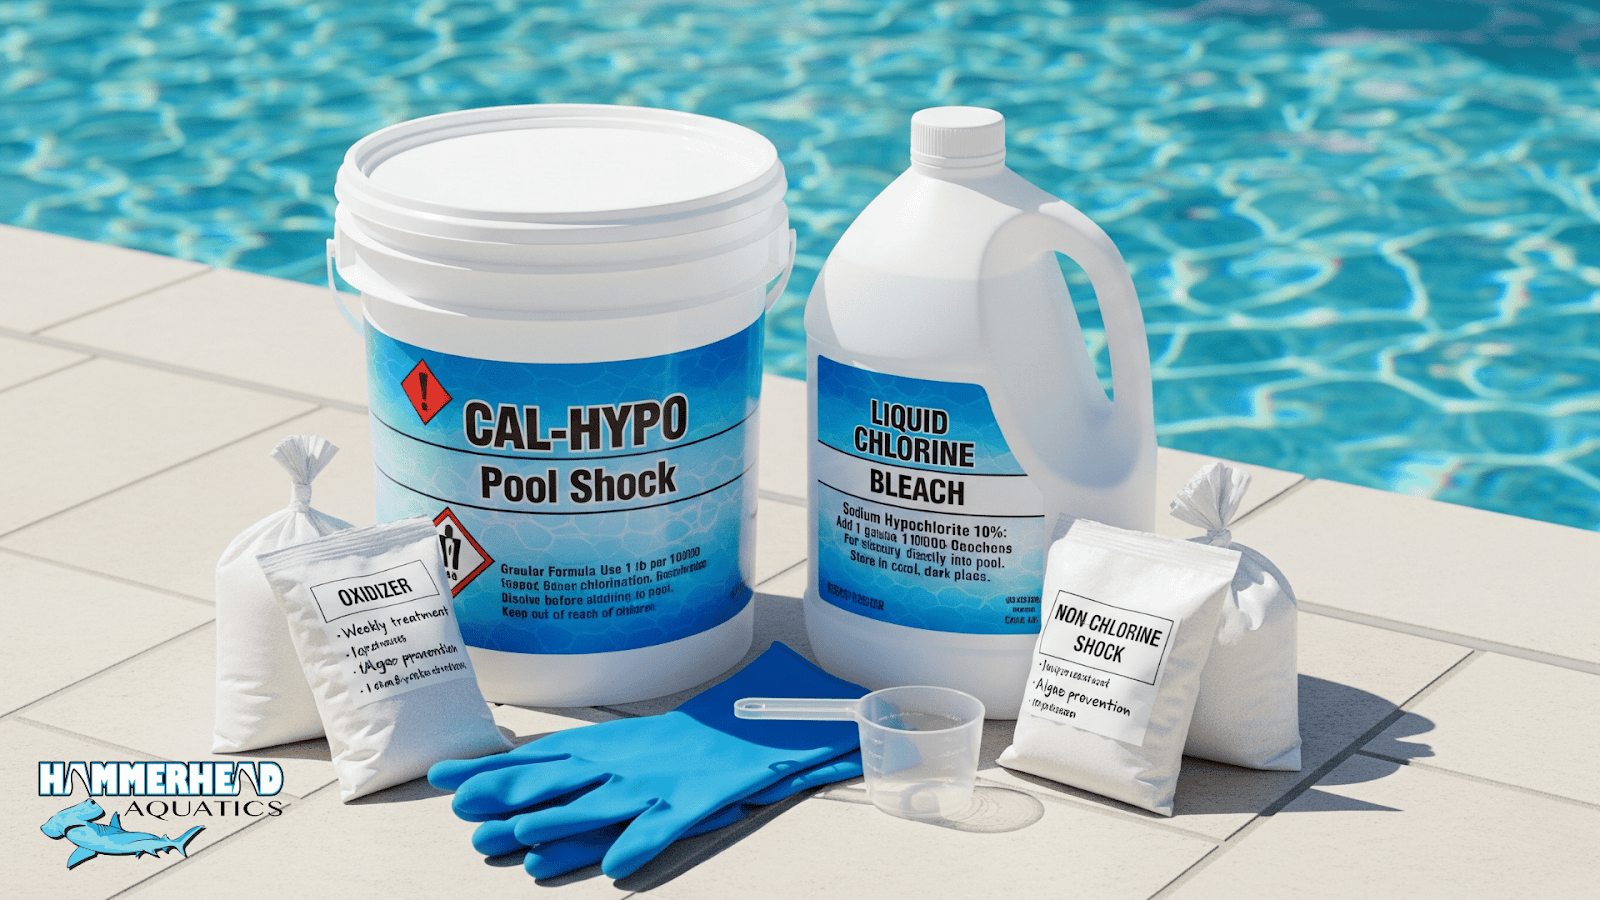
What Is Pool Shock?
Pool shock is a super-concentrated chemical treatment, typically chlorine-based but sometimes non-chlorine, used to superchlorinate pool water by rapidly raising free chlorine levels.
This powerful process kills algae, bacteria, and other contaminants, destroys chloramines (used-up chlorine that causes the "chlorine" smell and irritation), and clarifies cloudy water, ensuring it is safe and pleasant for swimming.
So which shock to use?
- Calcium hypochlorite (cal-hypo)
Powerful, granular. Great unless you already have high calcium hardness or a saltwater generator. - Liquid bleach (sodium hypochlorite)
Excellent for salt systems and won’t raise hardness.
P.S.: Avoid trichlor for large shocks as it’s slow and adds stabilizer.
A practical field rule I use: for maintenance shock, 1 lb of cal-hypo per 10,000 gallons. For algae:
- Light green: 2× maintenance
- Medium green: 3–4× maintenance
- Heavy/black: 4× or more (and repeat)
Add shock at dusk or after dark. Walk around and broadcast it in small amounts rather than dumping it in one spot. If you use cal-hypo, follow label instructions for pre-dissolving if required.
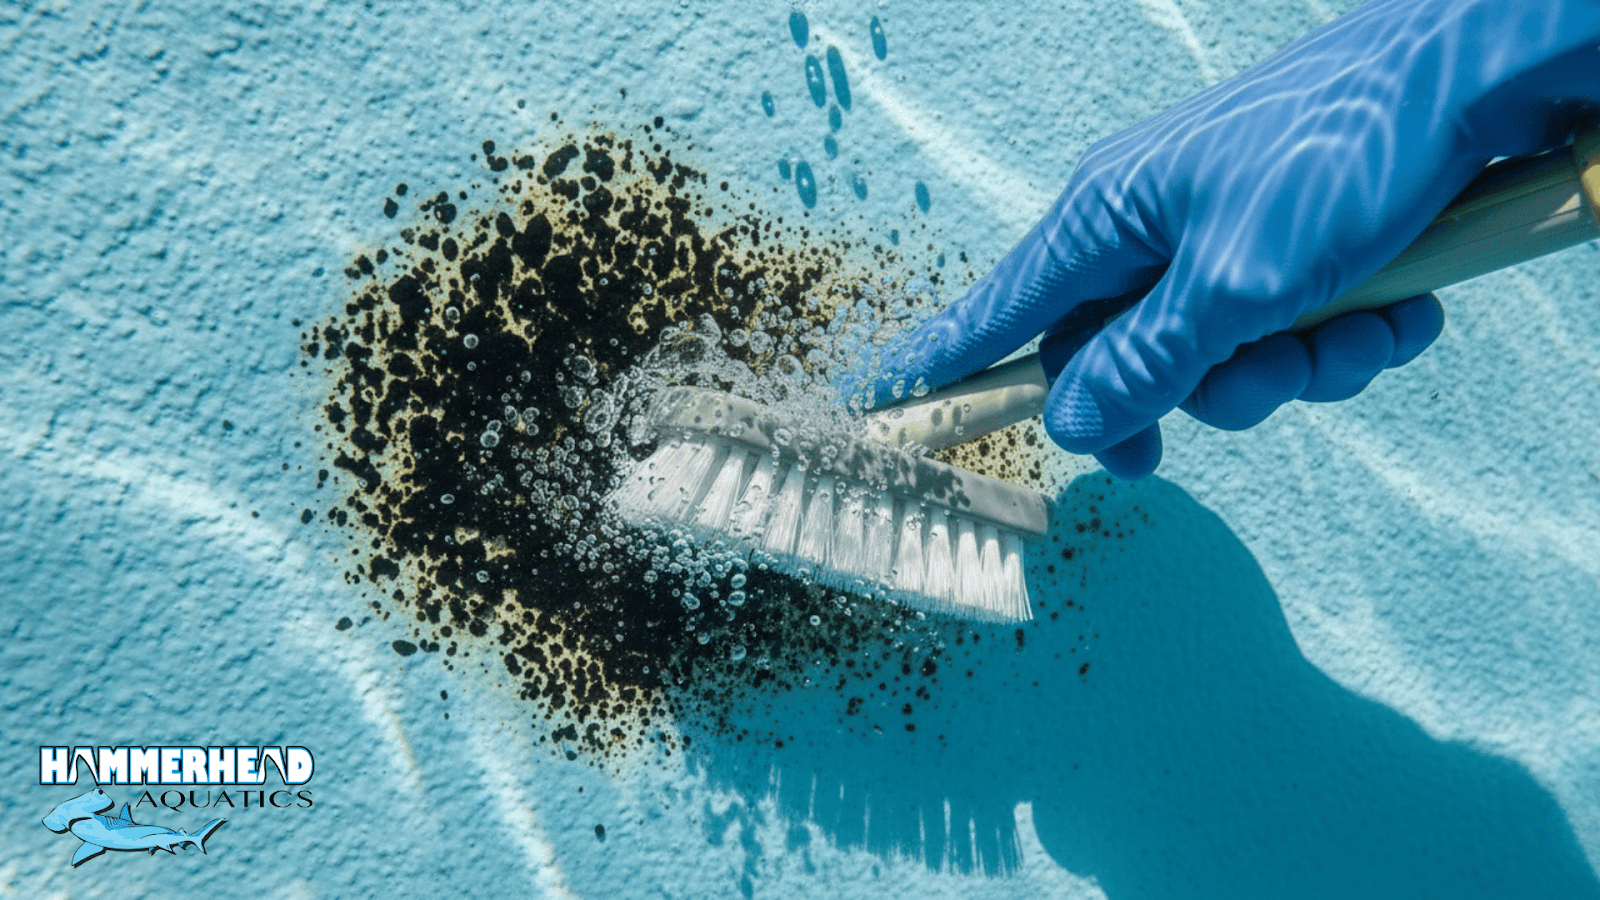
Step 4: Brush like you mean it — but protect acrylic windows
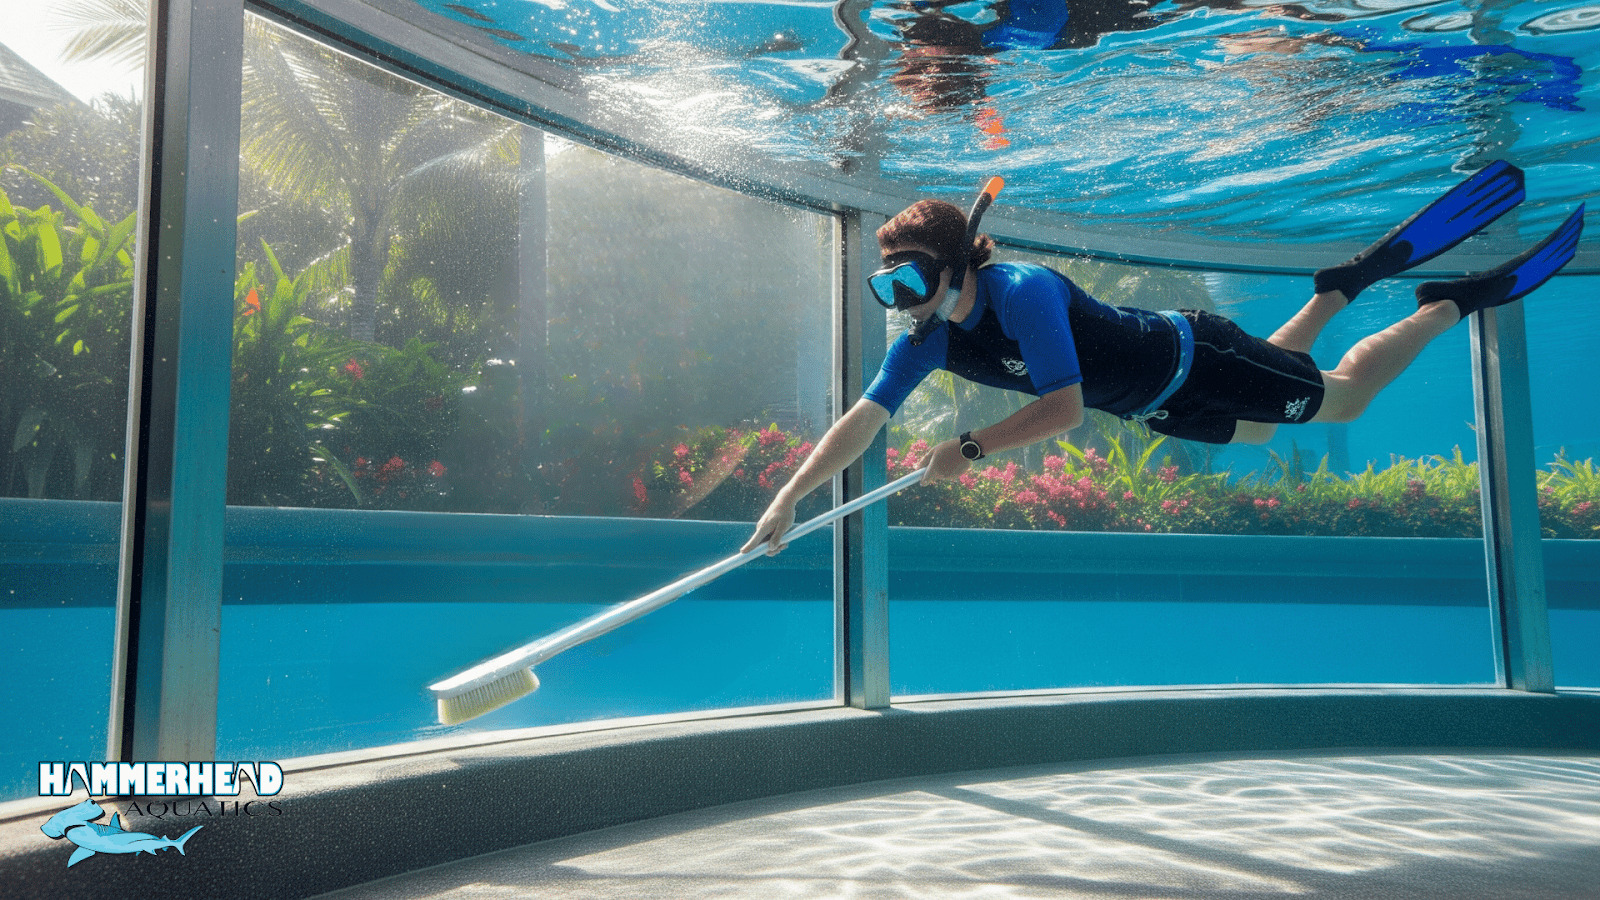
Brushing is where the magic starts. Algae clings; chemicals can’t reach it if it’s packed on. So you need to get wet and get to work.
In this case, use a stiff brush for plaster/surface pools and use nylon brushes on vinyl.
Around acrylic, use a soft-bristle brush or a soft pad. Never scrape acrylic with a metal brush. If you have an acrylic window, spend extra time at the seams and the recesses where debris collects. These are algae magnets.
Quick Story: I once dealt with a home owner who had an acrylic glass-front pool that he had been scrubbing with a metal pad. Result? It provoked scratches that trapped algae for months. He actually consulted 2 local pool builders who charged him low, did treatment, but it never got clean enough. Then he came to me through another client. Well, I know my stuff. A soft microfiber and patient chemical treatment cleaned it up without damage. Plus, I made sure nothing was trapped and shined it up back to “good as new.
Step 5: Run filtration 24/7 and maintain it
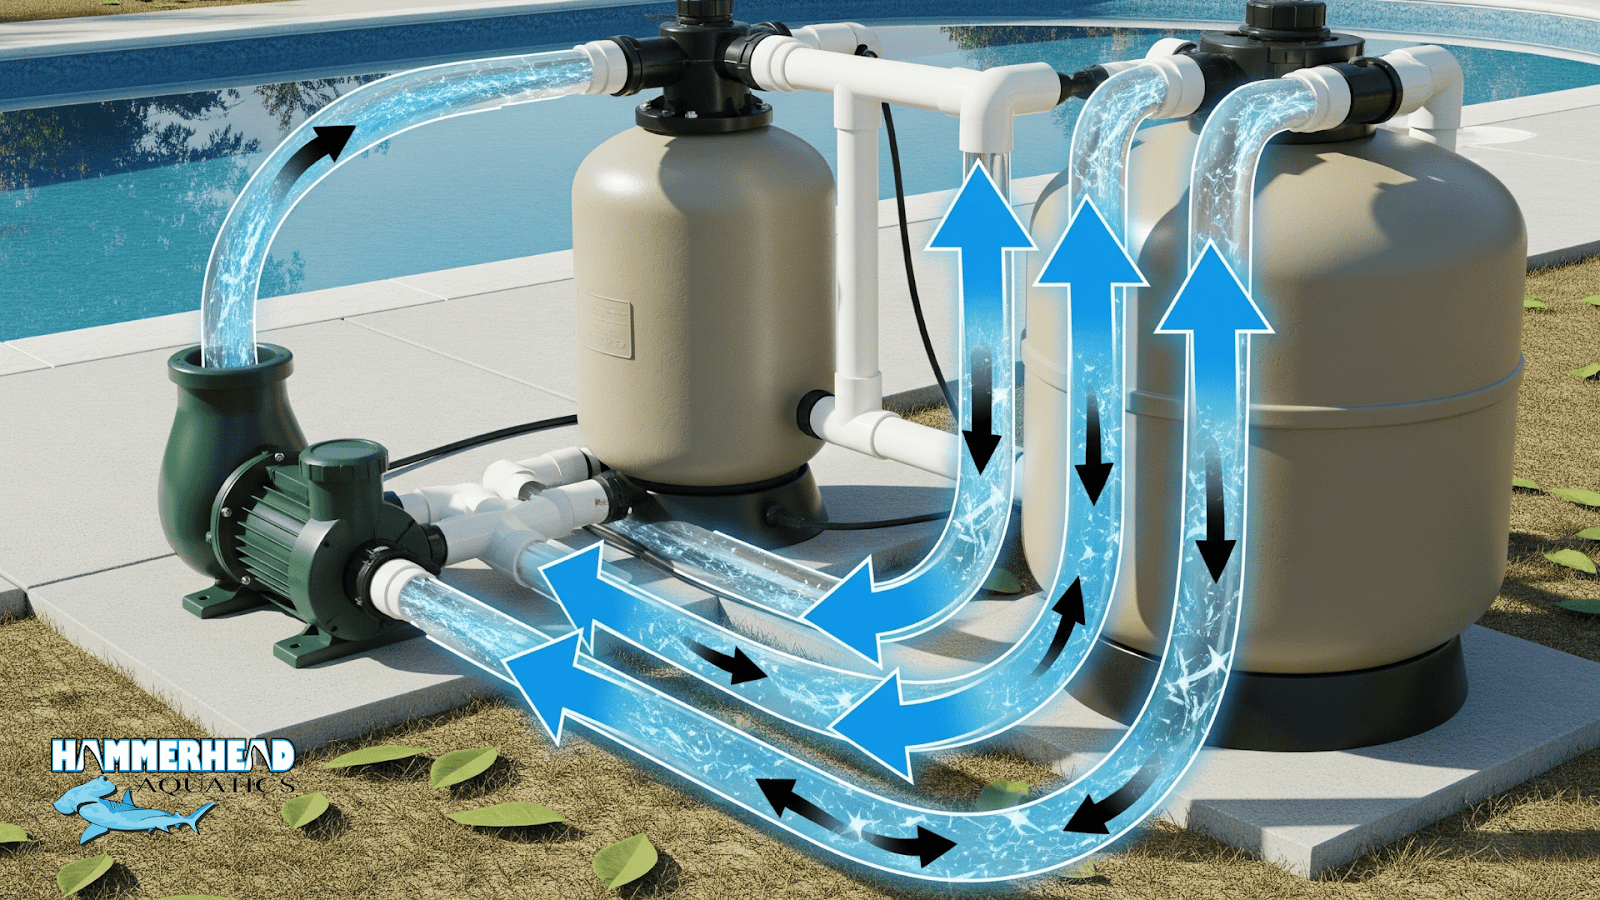
Turn the pump on and keep it on. For significant algae battles I tell homeowners: “sleep with the pump on.” Empty skimmer baskets every couple hours, check the pump basket, and be ready to backwash.
Filters will clog fast. Cartridge elements might need rinsing multiple times a day. Sand and DE filters will require frequent backwashes. If the filter pressure spikes, clean it (because a clogged filter is useless).
To tackle this, most people choose to keep a caretaker. You should too.
Step 6: Clarifier vs floc, pick your weapon
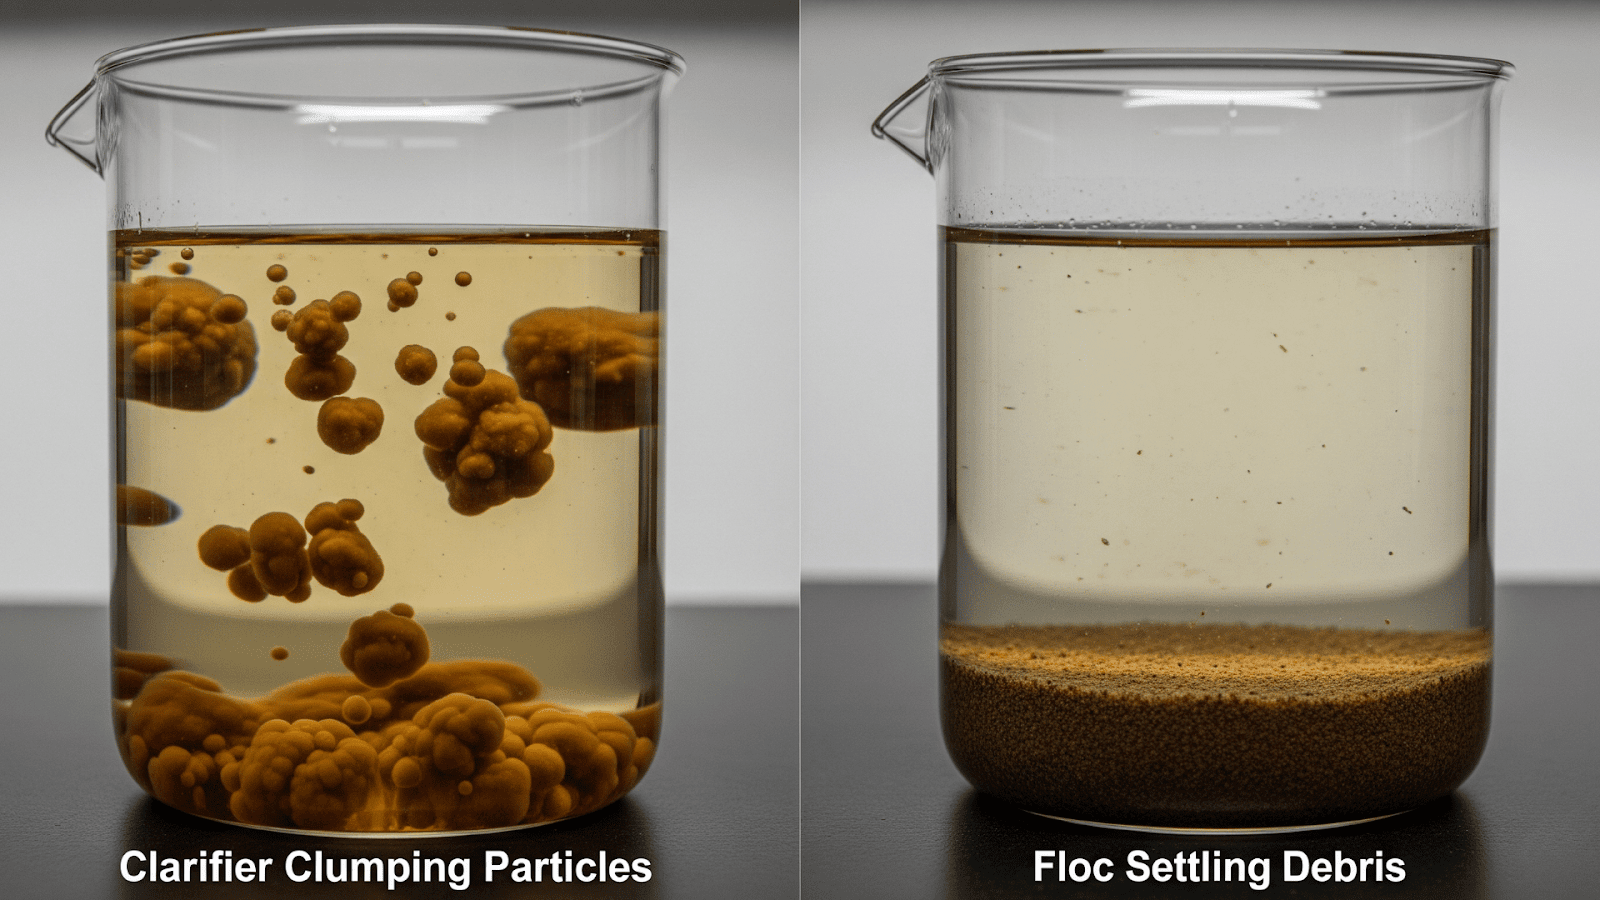
At this point, you have to choose between using a clarifier and floc.
- Clarifier helps fine particles clump so the filter captures them. Use it if your filter is working and you don’t want to lose water.
- Flocculant (floc) makes particulates heavy and sinks them which you can vacuum to waste. Use it if the pool is very cloudy and you can afford to vacuum out water.
If you use floc: be ready to vacuum slowly to waste, then re-balance your pool.
Step 7: Black algae protocol (the stubborn enemy)
The green stuff is terrible but not too painful. However, if it turns to black algae, you need to treat it differently. Black algae hides in pores and crevices. So there’s more work to do.
- Physically scrub the black spots daily (stainless brush where appropriate).
- Superchlorinate and hold the FC high until the black spots quit returning.
- Use a spot algaecide formulated for black algae if needed.
- If it persists, get a pro; you may need acid washing or surface repair.
And that’s just about it. Your pool should now be free of the green stuff.
Step 8: Rebalance, protect, prevent
Once clear, don’t relax completely:
- Get FC down to maintenance levels (1–3 ppm for most pools; check local guidelines).
- Keep pH 7.2–7.6.
- Continue running the pump daily and test weekly.
- Consider monthly algaecide as a preventive (choose non-staining — polyquat types are safe for most pools).
Special Care For Pool Windows And Why They Matter
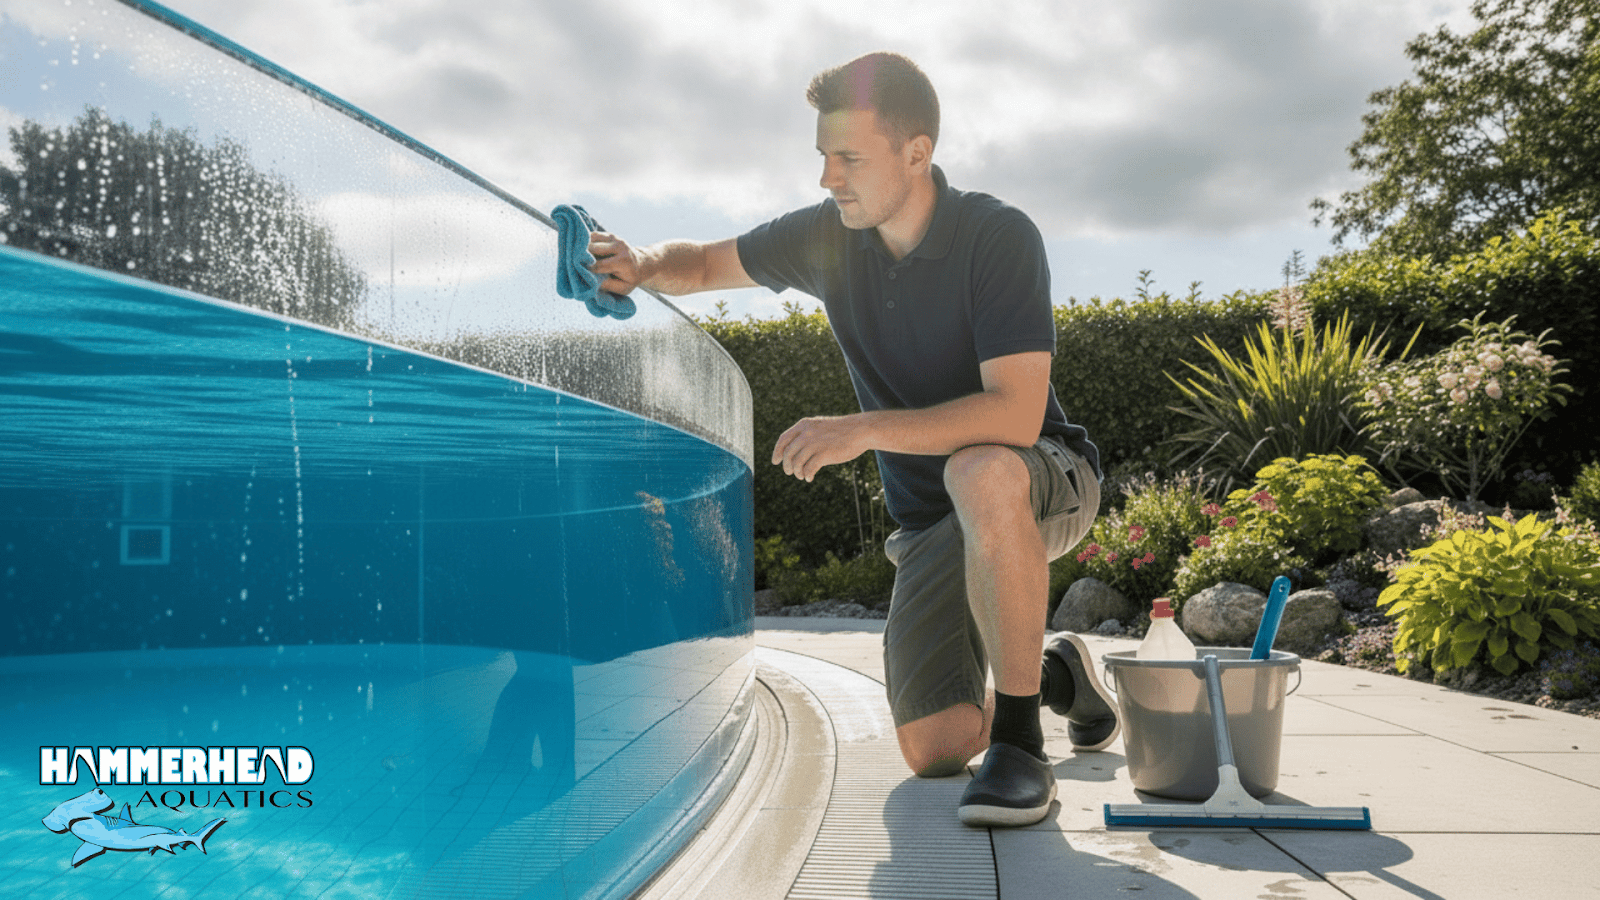
If you have acrylic pool windows, they’re both a design star and a maintenance pinch point.
- Cleaning:
Rinse, then use warm water + mild dish soap and a microfiber cloth. For algae at the waterline, chemically loosen it first then gently wipe. Never use abrasive pads or solvents. - Seals:
Check seals and frames seasonally. Algae loves the small gaps. If you see seal failure or fogging, call a certified acrylic window pro — repairs are cheap compared to replacing a scratched panel. - Design tip (for future builds)
We always design a shallow inspection chase behind the window so seals can be serviced without removing the panel. It costs a little up front and saves a fortune in headaches.
Tools & Shopping List (what I keep in the truck)
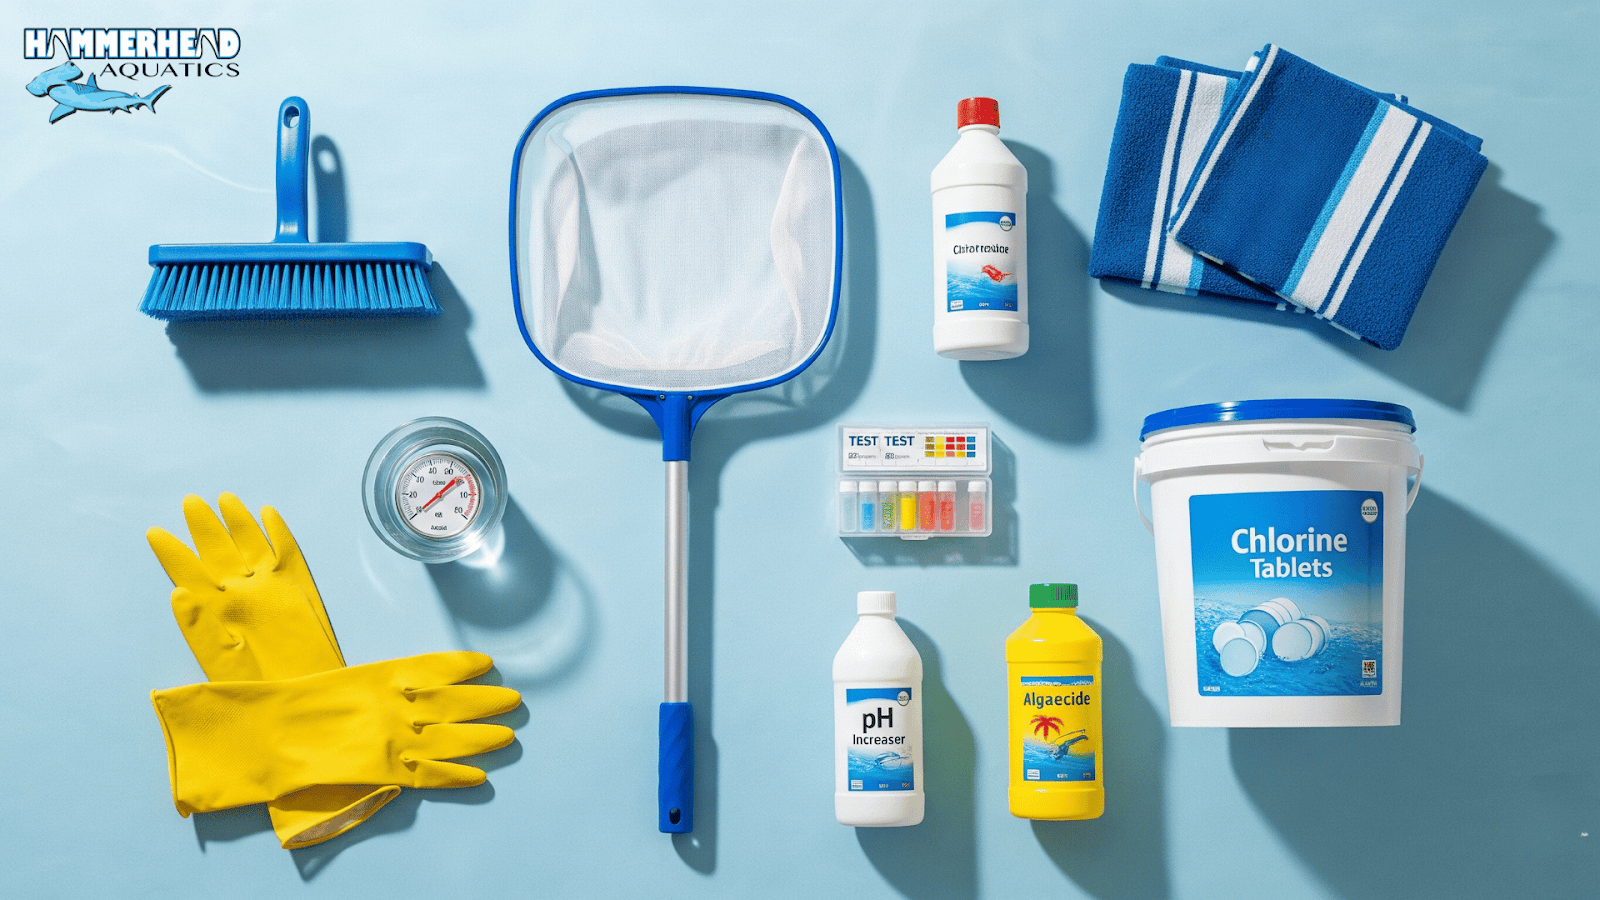
- Good DPD test kit or digital tester
- Cal-hypo shock + liquid bleach (for salt systems)
- Soft and stiff brushes (soft brush specifically for acrylic)
- Vacuum with waste capability or submersible pump for dirty drains
- Clarifier and flocculant
- Non-staining algaecide (polyquat)
- A supply of microfiber cloths and gentle acrylic cleaner
Common mistakes I see (and how to avoid them)
Well, following are cases that people face when hiring amateurs for pool building.
- Shocking at noon. Sunlight eats chlorine so shocks at dusk.
- Thinking chemicals alone will fix it. But in this case, brushing matters. Always brush.
- Using copper algaecide without sequestering metals. That’s how you end up with bronze stains on plaster.
- Vacuuming floc through the filter. Vacuum to waste instead — otherwise you clog the filter and reverse progress.
Final Thoughts
If your pool is green, there’s good news: most fixes are straightforward if you use the right order. Test. Adjust pH. Shock at night. Brush, run the pump, and manage your filtration. Be gentle and intentional around acrylic windows - they’re beautiful but sensitive.
Expert Pool Window Builders You Can Seek Help From
If you’re considering building a new pool or need help with such complex cases as a green swimming pool, then me and my team at Hammerhead pools have been doing it for over two decades. So, you can be sure to get the best output and more value for money.
Book a consultation today, even if you’re just exploring. We’ll share clear, expert-backed advice based on your property.
And if you have generic questions related to fixing green pools, then leave a comment and I will share my expert knowledge.
Cheers!
FAQs
1. How long will it take to clear a light green pool?
Usually 24–72 hours if you shock correctly, brush, and run filtration nonstop. Light green means the algae haven’t built dense mats yet.
2. When can people swim after shocking?
Test the water. Don’t let anyone swim until free chlorine is back at safe maintenance levels (commonly 1–3 ppm) and pH is balanced. That’s often 24+ hours after a big shock depending on dosage and circulation.
3. My acrylic window has green film at the waterline. Can I scrub it?
Rinse, then clean with warm water and mild soap using a microfiber cloth. Brush the adjacent pool surfaces (not the acrylic) to dislodge algae first, then let the chemistry finish the job. If the acrylic is scratched or hazy, consult a specialist.
4. Should I use copper algaecide?
Not as a first choice. Copper works but can leave metal stains and causes buildup. For routine prevention use a non-staining polyquat algaecide and maintain good chlorine levels.
Fixing a green swimming pool is less about throwing in chemicals and more about respecting sequence, testing, and equipment. When done right, you can restore your pool in days instead of weeks. For pools with acrylic windows, careful maintenance ensures long-lasting clarity and structural health. If you’re struggling with persistent algae, black spots, or fogging windows, don’t waste money on guesswork, reach out to Hammerhead Pools. With over 30 years of expertise, we provide reliable, expert-backed solutions to restore your pool quickly and prevent costly recurring problems. Contact us today for a consultation and enjoy a pool that stays clear and healthy year-round.


